Everything is just a click away!!
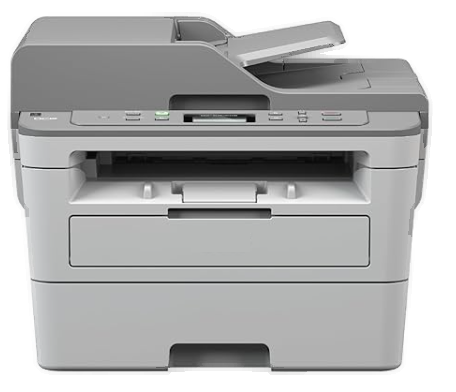
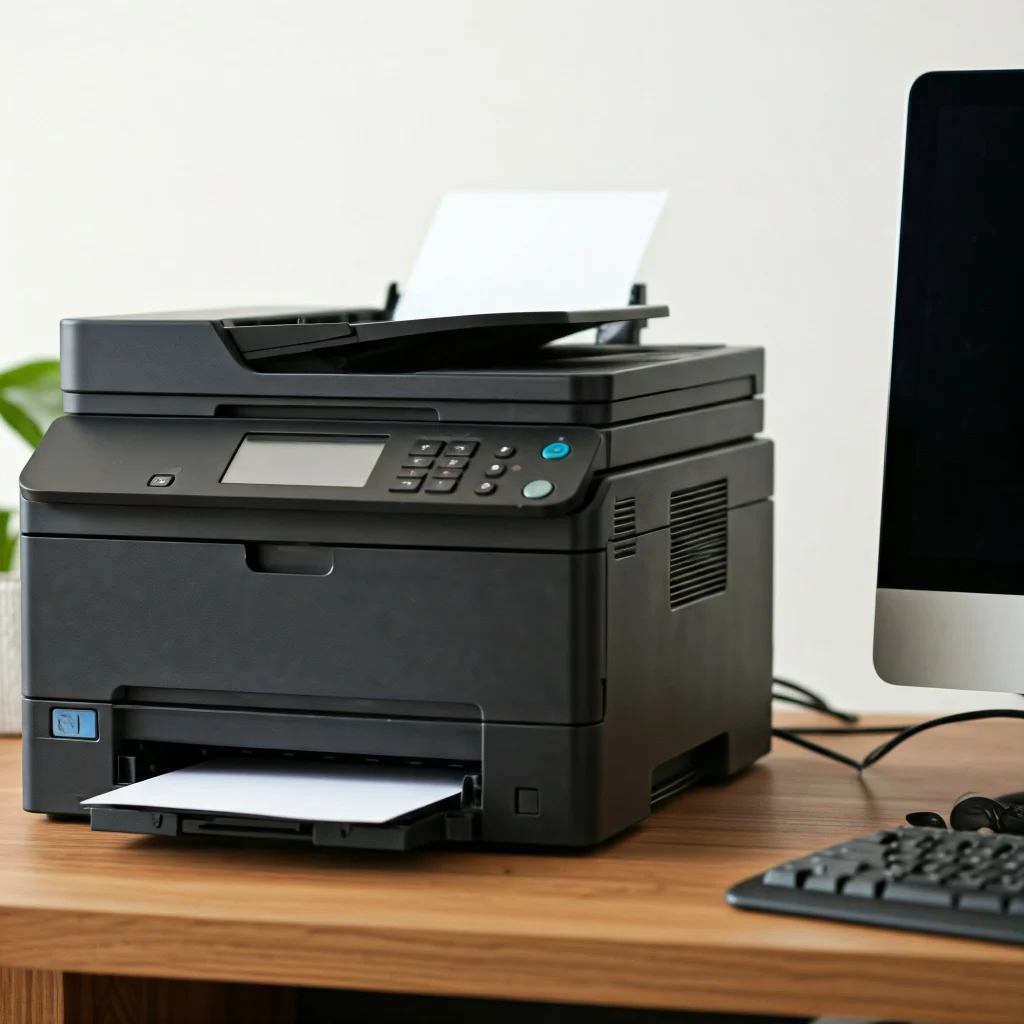
Printer Setup
Is it difficult for you to set up a printer? Are you encountering several issues while setting up a new printer?
Now, no more!! With Allmyprinters, the whole process will be much easier than before. No matter, if you are going to connect a new device or fix your current setup, we’ll help you throughout the process. Our step-by-step tips confirm a seamless printer setup experience. As an outcome, it will be possible for you to save your precious time and effort as well. All you need to do is walk through our user-friendly website for the advanced solutions customized as per your needs. We give priority to not only simplicity & efficiency but also to assist you in unlocking the fullest potential of your printing device.
Wireless Printer Setup
Are you in a dilemma due to tangled wires? Rest assured!! Now, you can easily enjoy hassle-free printing with Allmyprinters. We will surely make the Wireless Printer Setup a breeze. Do you want to be aware of the steps to connect your printer to Wi-Fi? Or wanna sync it with multiple devices? We have solutions to all of your problems. At Allmyprinters, we will simplify the technology for you to confirm a smooth and stress-free setup.
Let’s explore our go-to-hub website to become familiar with wireless printing solutions.
Simple Steps For Wireless Printer Setup
Unbox and Power On
- First of all, plug in the printer and turn it on.
- Now, make sure that your printer is ready.
Connect to Wi-Fi
- Make the proper utilization of the control panel of your printer to navigate the Wi-Fi setup menu.
- Choose your Wi-Fi network and enter the password.
- If your printer is without a screen, you need to press the WPS button on your router and the printer.
Install Printer Drivers
- In the first step, visit the manufacturer’s website so that you can download & install the latest printer drivers.
- As an alternative option, you need to use the setup CD that is provided with the printer.
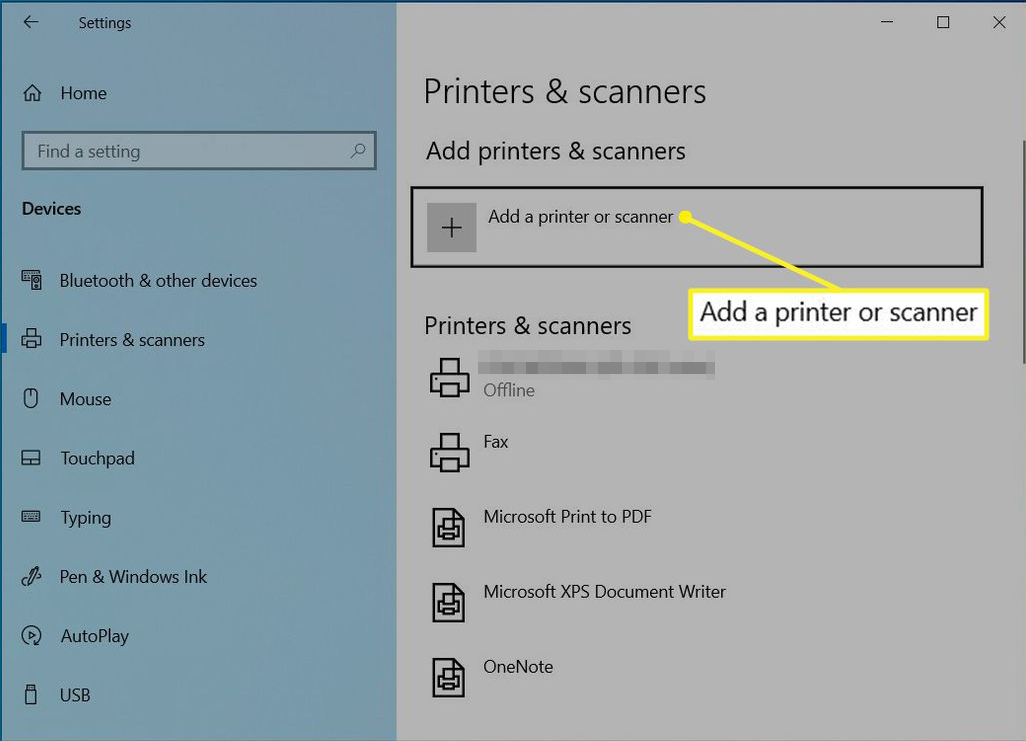
Add Printer to Your Device
On Windows:
Go to “Settings” > “Devices” > “Printers & Scanners” > “Add a Printer.”
On Mac:
Open “System Preferences” > “Printers & Scanners” > “Add Printer.”
Test the Connection
- In the last step, print a test page so that you can confirm that the wireless setup has successfully been completed.
Printer Installation : Step by Step Guide
Do you consider setting up your printer a daunting task? Well, you need not to take stress for it. We are here to make the whole setup process seamless and straightforward for you. Whether you are a first-time user or going to update your device, it is confirmed that our expert guidance will assist you. We ensure you enjoy a stress-free Printer installation experience. It’s surely the right time to have a look at the easy-to-follow instructions. Ultimately, you will have your printer up and running in no time…..
Quick Steps for Install Printer Setup
Unbox and Connect
At the beginning of the process, unpack your printer, plug it in, and later on power it on. Make sure that all components, such as - ink cartridges and paper, are loaded properly.
Driver Installation
Now, visit the website of the printer manufacturer so that you can easily download the latest drivers. After that, install them as they are completely compatible with your device. Suppose, you have a setup CD, you can use it for streamlining the procedure.
Connect to Wi-Fi or USB
For all wireless printers, you can use the control panel so that you can easily connect to your Wi-Fi network. For wired setups, you can connect the printer to your computer via USB.
Add the Printer
On Windows: Initially, navigate to “Settings” > “Devices” > “Printers & Scanners” > “Add a Printer.”
On Mac: On your Mac devices go to “System Preferences” > “Printers & Scanners” > “Add Printer.”
Print a Test Page
Finally, you need to make sure that everything is working correctly. For this, you need to print a test page.
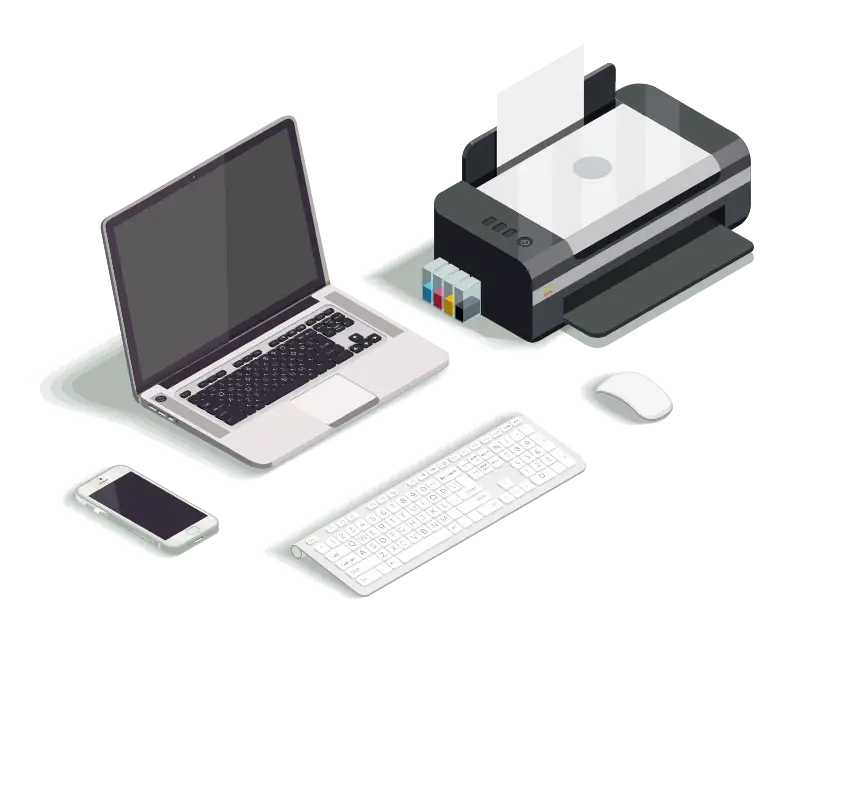
How to Set Up A New Printer AND INSTALLATION
Do you want to unlock the fullest potential of your printing device? If so, all your wishes will now be fulfilled. No matter, if you are going to install a new device or reconfigure an existing one. We will throw light on the printer installation process to confirm the smooth operation. Wanna connect your computer device to a reliable network for downloading the required printer driver? If so, you need to follow the appropriate steps so that you can enjoy your device’s optimal performance. Let’s go through the key details mentioned here to enjoy efficient as well as uninterrupted printing every time.
How to set up a new printer
Indeed setting up a new printer is an essential step to confirm smooth as well as efficient printing. No matter whether it is for home or office use, a proper printer setup guarantees optimal performance. All you need to do is be aware of the simple steps to accomplish the setup process. As an outcome, you can have your printer ready to use in no time.
Let’s throw a light on the steps to set up a new printer…..
Steps to Set Up a New Printer

Unpack the Printer
In the first step, remove all packaging materials. Now, connect the power cable to turn on the printer.
Install Ink or Toner Cartridges
Now, insert the given cartridges into their designated slots.
Load Paper
After that, place the paper into the input tray and adjust the guides.
Download and Install Drivers
Thereafter, visit the manufacturer’s website so that you can download and install the latest drivers for your printer.
Connect the printer
For Wireless: Make the proper utilization of your printer’s control panel so that you can connect to Wi-Fi.
For Wired: In this case, it will be better for you to connect the printing device to your computer with the use of a USB cable.
Add Printer to Your Computer
On Windows: In the first step, go to “Settings” > “Devices” > “Printers & Scanners” > “Add Printer.”
On Mac: For iOS devices, you need to open “System Preferences” > “Printers & Scanners” > “Add Printer.”
Print a Test Page
In the last step, to confirm that the setup is complete, you have to print a test page
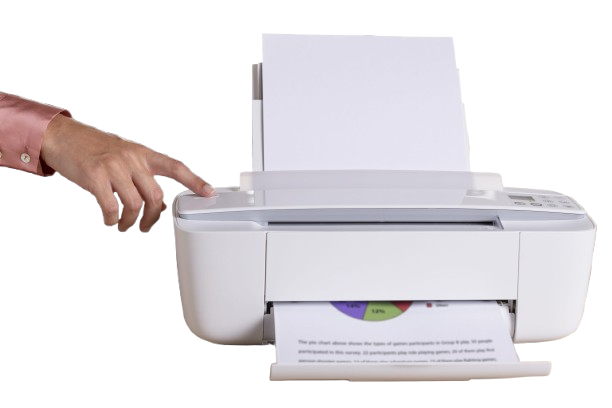
How to Set Up Printer (Wired or Cable)
Do you want to achieve efficient and seamless printing? If so, it will be worth setting up a printer device. By configuring your printing device properly, you can confirm that you can easily manage everyday tasks. These tasks are namely – printing documents, photos, or reports with ease.
It is a harsh truth that setting up a printing device is about unlocking its full potential and overlooking all technical issues as well. Once you have an eye on the well-executed setup procedure mentioned on this page, you can surely save time, enhance productivity, and confirm optimal performance.
Steps to Set Up a Printer
Unbox the Printer
In the first step, you need to unpack the printer carefully. After that, you can remove all protective tape or packaging materials. Thereafter, connect the power cord and turn it on.
Install Ink or Toner Cartridges
Next, open the printer compartment > insert the given ink or toner cartridges > and secure them in place.
Load Paper
Thereafter, you need to place the paper into the input tray. It will confirm that it aligns with the adjustable guides for smooth feeding.
Download Printer Drivers
Now is the right time to visit the printer manufacturer’s website so that you can download the latest drivers and software for your device. As an alternative option, you can set up a CD if it is provided to you.
Connect the Printer
For Wired: In this case, you need to connect the printer to your computer device with the use of a USB cable.
Add Printer to Your Computer
On Windows: You need to start navigating to “Settings” > “Devices” > “Printers & Scanners” > “Add Printer.”
On Mac: For these devices, you are required to go to “System Preferences” > “Printers & Scanners” > “Add Printer.”
Test the Printer
Last but not least, print a test page so that you can confirm the setup is successful & your printer is ready for use.
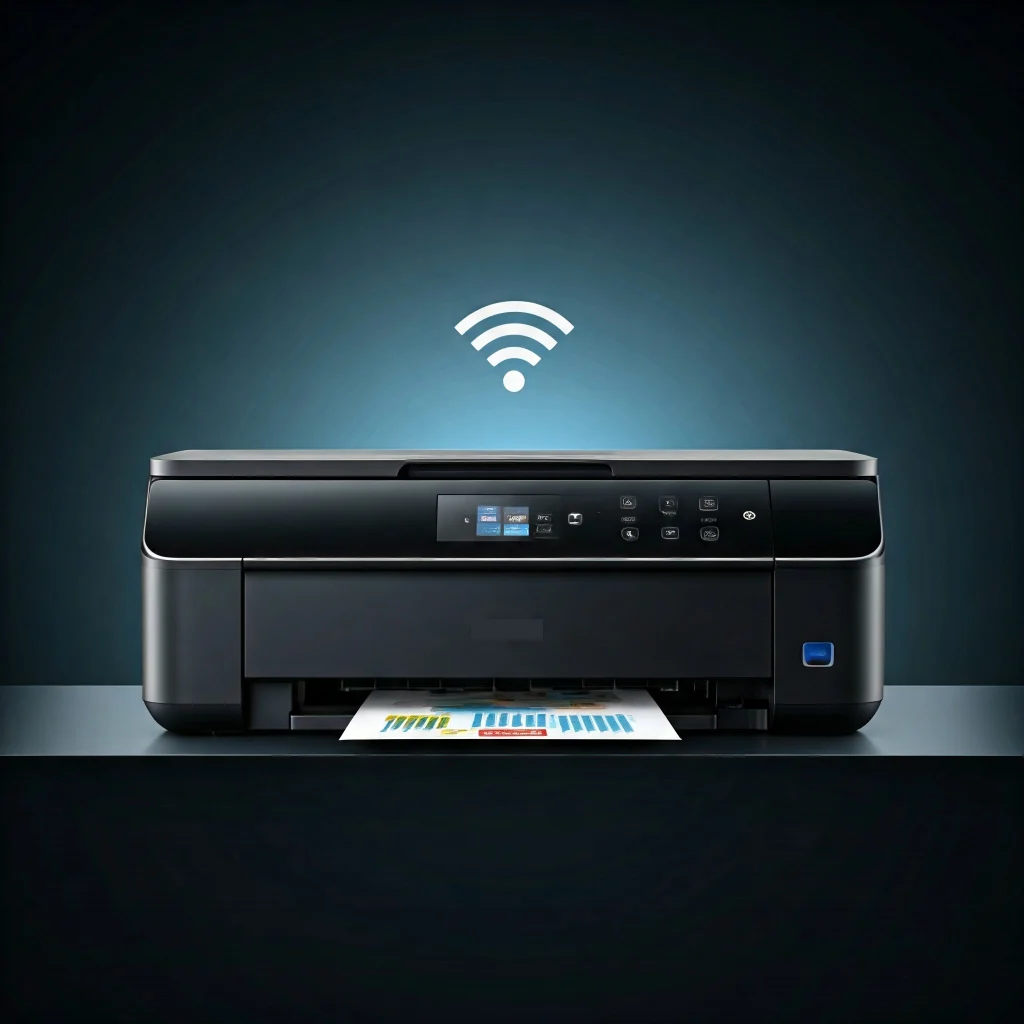
How to Set Up Printer to WiFi
(Wireless or Without Cable)
In today’s fast-paced world, connecting a printer to Wi-Fi is a game-changer. It allows you to print wirelessly or without the clutter of cables. Now, you will be able to print more conveniently from any corner of the world. In addition to this, such connectivity allows a multitude of devices to send print jobs effortlessly from any corner of your house within your network range.
Let’s move ahead for the home & office setups, and enhance productivity & simplify workflow as well.
Steps to Connect a Printer to Wi-Fi
Turn On Your Printer
Ensure your printer is powered on and in a ready state.
Access the Wi-Fi Setup Menu
Use the printer’s control panel or touchscreen to navigate to the Wi-Fi setup or network settings menu.
Select Your Wi-Fi Network
From the available networks, choose your Wi-Fi network name (SSID).
Enter the Wi-Fi Password
Input the password for your Wi-Fi network using the on-screen keyboard and confirm the connection.
Wait for Confirmation
The printer will display a message indicating a successful connection or show the network status.
Install Printer Drivers
On your computer, download the latest drivers from the manufacturer’s website or use the setup CD.
Add Printer to Devices
On Windows: Go to “Settings” > “Devices” > “Printers & Scanners” > “Add Printer.”
On Mac: Open “System Preferences” > “Printers & Scanners” > “Add Printer.”
Test the Connection
Finally, you need to print a test page so that you can confirm that your device is connected to Wi-Fi and ready for use.
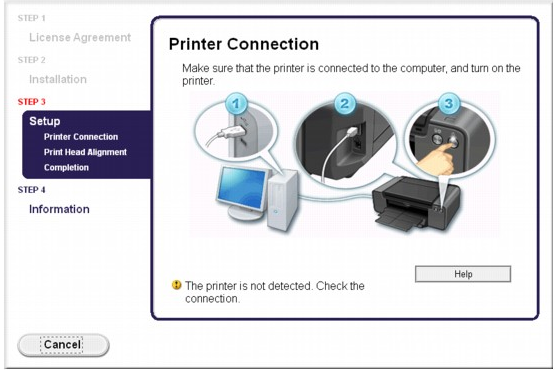
Why Did My Printer Installation Get Failed? Troubleshoot Now
Are you facing issues while installing your printer? Fret not!! We have prepared a complete list of the most effective troubleshooting tips to fix all these issues. Once you apply these tips in a systematic way, you will be able to identify and resolve issues. In addition to this, you will also be able to protect your printer from being installed. Let’s have an all-seeing eye on the key fixes mentioned below –
- Make sure that your printer is completely connected to the power source
- To resolve all temporary glitches, you can restart your printer, computer, and router for a wireless connection
- Confirm that the printer is compatible with your operating system whether it is Windows, macOS, or Linux
- Cross-check if your OS’s version is able to meet the minimum system requirements for your printer
- Now, download and install the latest printer driver from the manufacturer’s website
- Try to avoid using generic drivers that lack basic features
- Upgrade the operating system of your computer to confirm compatibility with your printer
- Make sure that you have installed all the pending firmware updates for your printer
- Don’t forget to run the troubleshooter on Windows or macOS.
- Verify that both your printer and computer are on the same Wi-Fi network.
- Remember to print a network configuration page from the printer so that you can cross-check its connection status
- To cross-check if the firewalls or antivirus software are blocking the connection, disable them as soon as possible
- In the next step, remove the printer from your computer (Windows or macOS)
- Now, restart the computer and reinstall the printer with the use of the manufacturer’s software
- Try to connect the printer to a different USB port on your computer.
- Look for the manufacturer’s support website to get solutions for the error code.
- Next, reset the printer to its default settings. It will be helpful to you to start the installation process from scratch.
- If the issue still persists, you can contact the printer manufacturer’s support team for more help.