Brother Printer Setup
Introduction
Do you want to unlock seamless printing solutions for your home and office requirements? If so, Brother printer setup is the first step toward efficiency and innovation. In the age of high-end technology, Brother printers are a trustworthy choice for exclusive printing, scanning, and copying.
Are you looking for a way to confirm the optimal performance and uninterrupted workflow? Well, setting up your Brother printer in a proper way is a one-size-fit solution. With the help of this well-configured device, you can surely eliminate all common printing errors. Apart from this, you can enjoy the latest features of the Brother printer such as – wireless printing and cloud connectivity.
No matter what, if you want to use your Brother printer for your personal or professional needs, it is a must to set it up. This way, you can definitely harness its full potential and streamline your printing tasks more effortlessly.
Let’s grab a cup of coffee and have an all-seeing eye on the key details mentioned on this platform…
Easy Steps For Brother Printer Wireless Setup
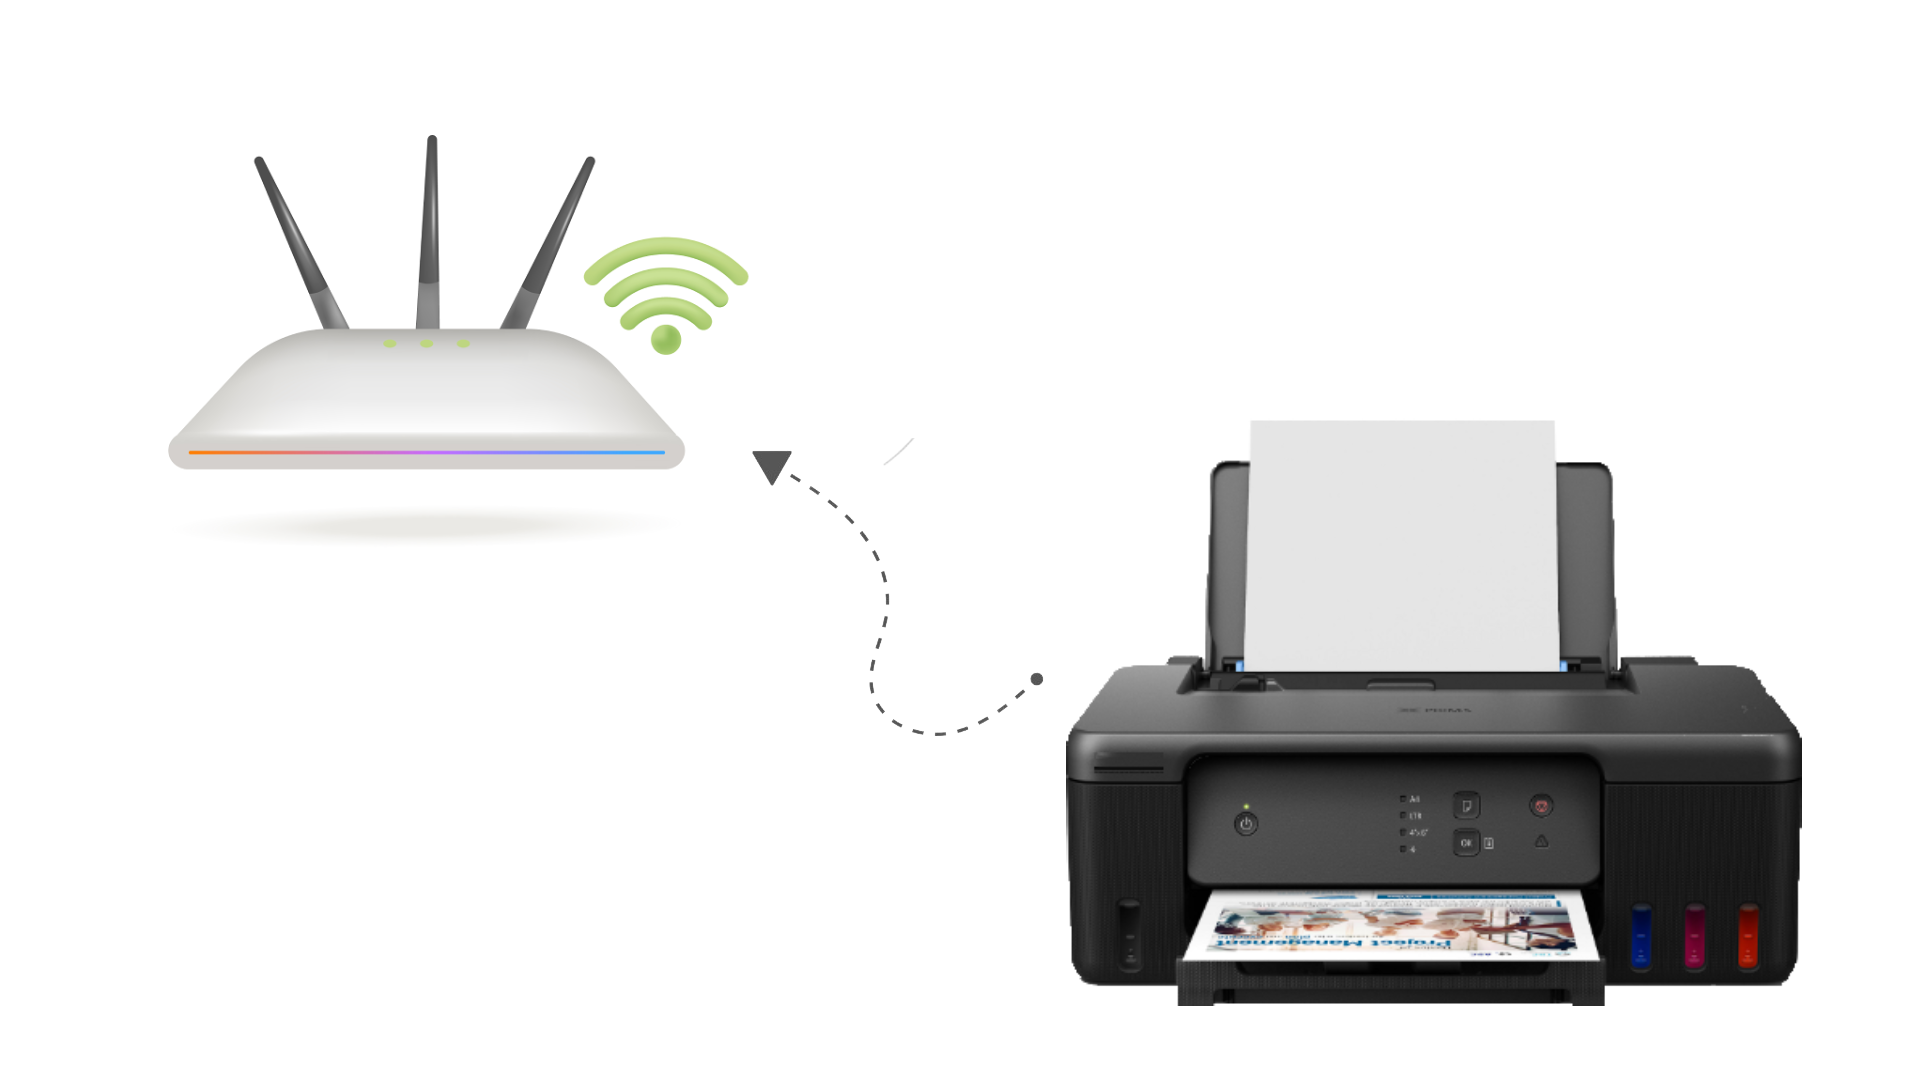
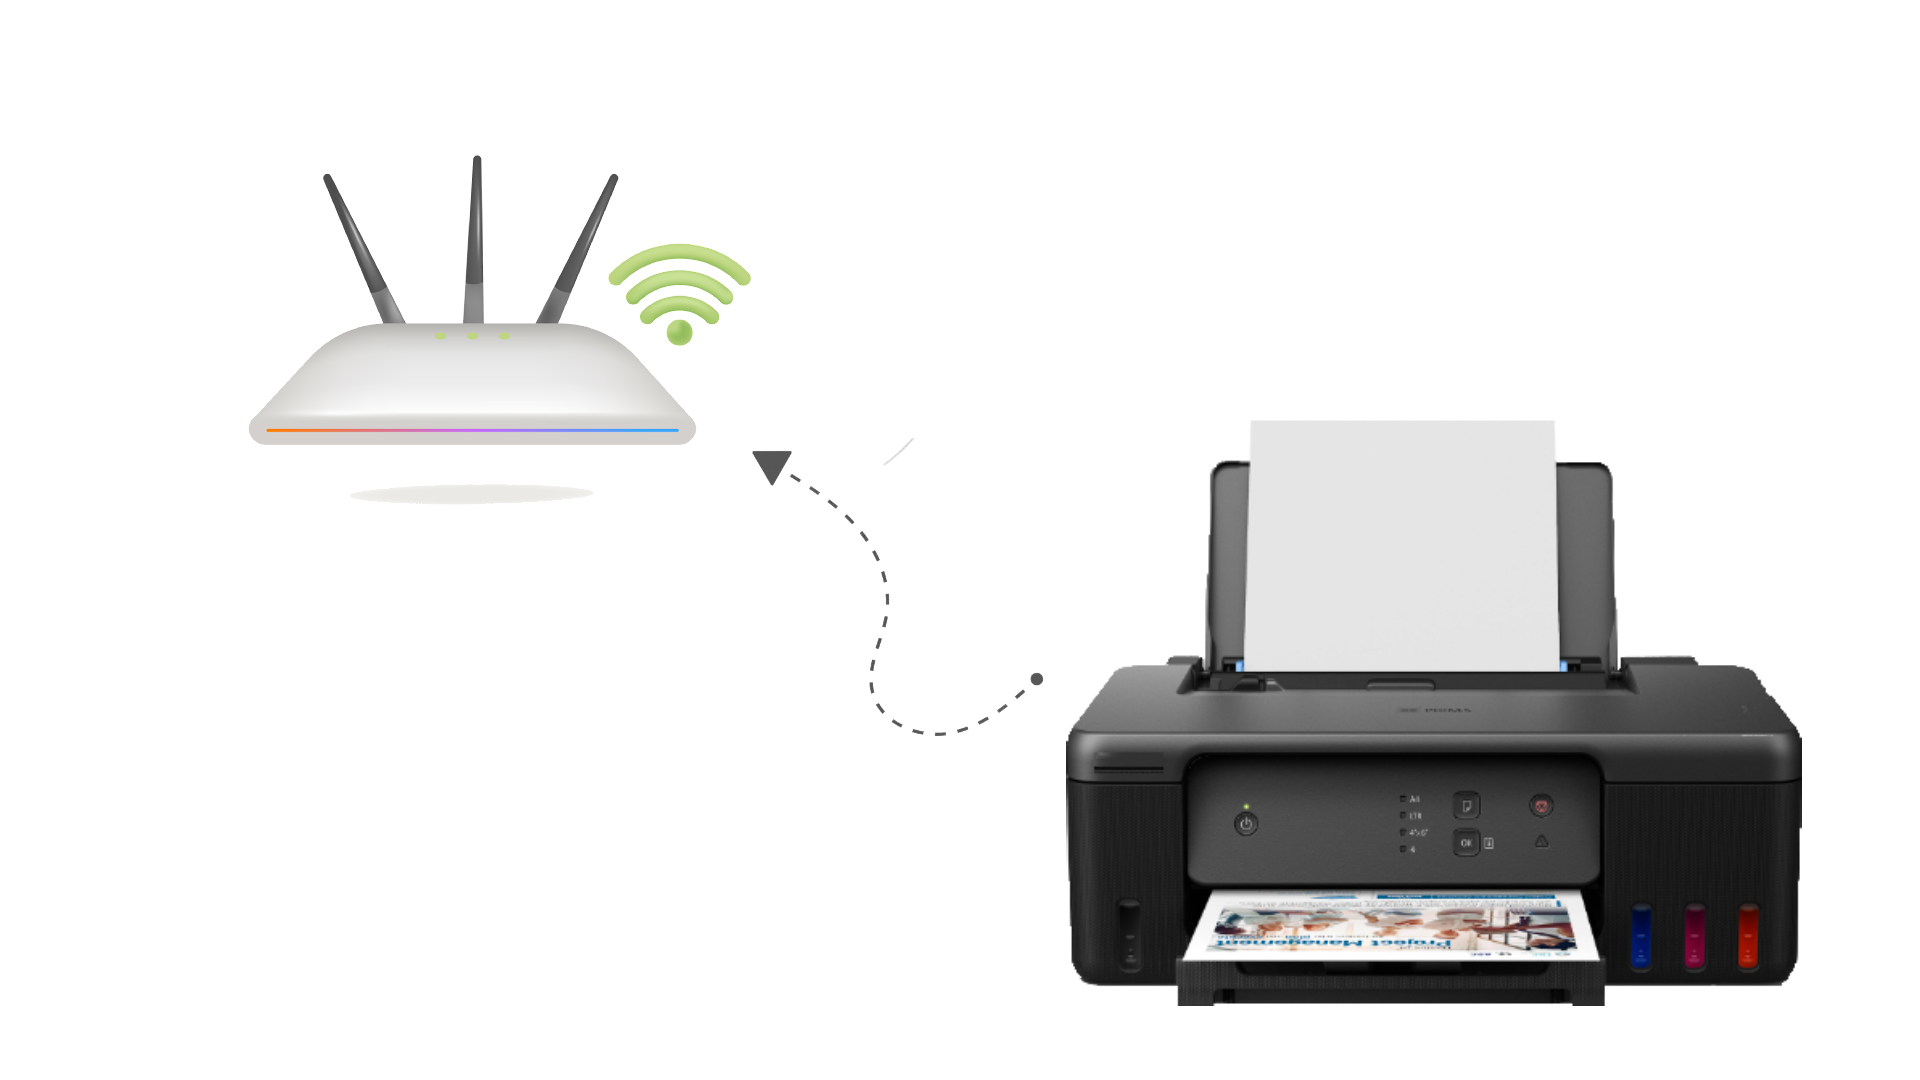
Wanna simplify your printing experience? If yes, it is worth exploring the steps mentioned in this section. Once you follow the detailed steps outlined for Brother Printer Wireless Setup, you can surely confirm flexibility and convenience. This process will enable you to print from multiple devices seamlessly without any kind of hassle of cables.
Let’s have a look at these steps to confirm that your Brother printer is efficiently connected to your network and ready to deliver you out-of-the-box printing performance……
1. Prepare Your Printer
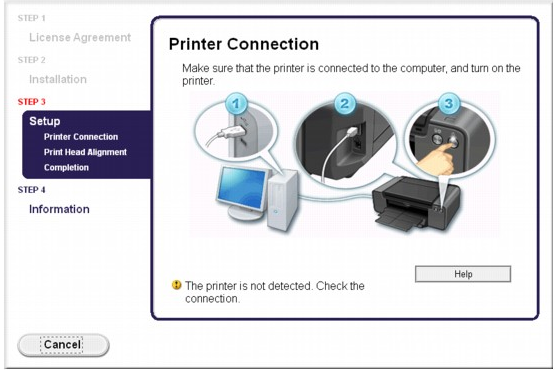
Initially, you need to confirm that your Brother printer is powered on and in a ready state. Cross-check its Wi-Fi indicator light, and set it up as per instructions given in the user manual.
2. Connect to a Wireless Network
Now, access the control panel of your Brother printer. Navigate to the “Network” or “Wi-Fi” settings> Choose “WLAN” > Select “Setup Wizard” > Choose Wi-Fi network from the list > Enter network password with the use of the printer’s keypad > Confirm that the Wi-Fi indicator light has turned solid.
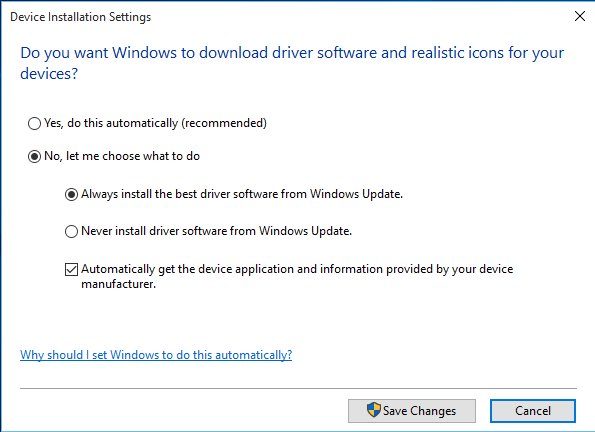
3. Install Printer Drivers on Your Device
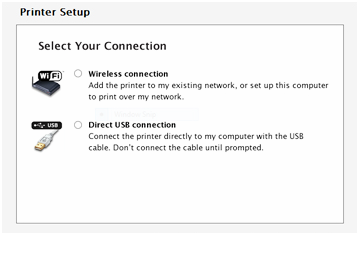
To kick-start the process of installing your printer drivers on your device, you need to Download the latest printer drivers from the official Brother website> choose the “Wireless Network Connection” option > follow the on-screen instructions.
4. Add the Printer to Your Device
For Windows:
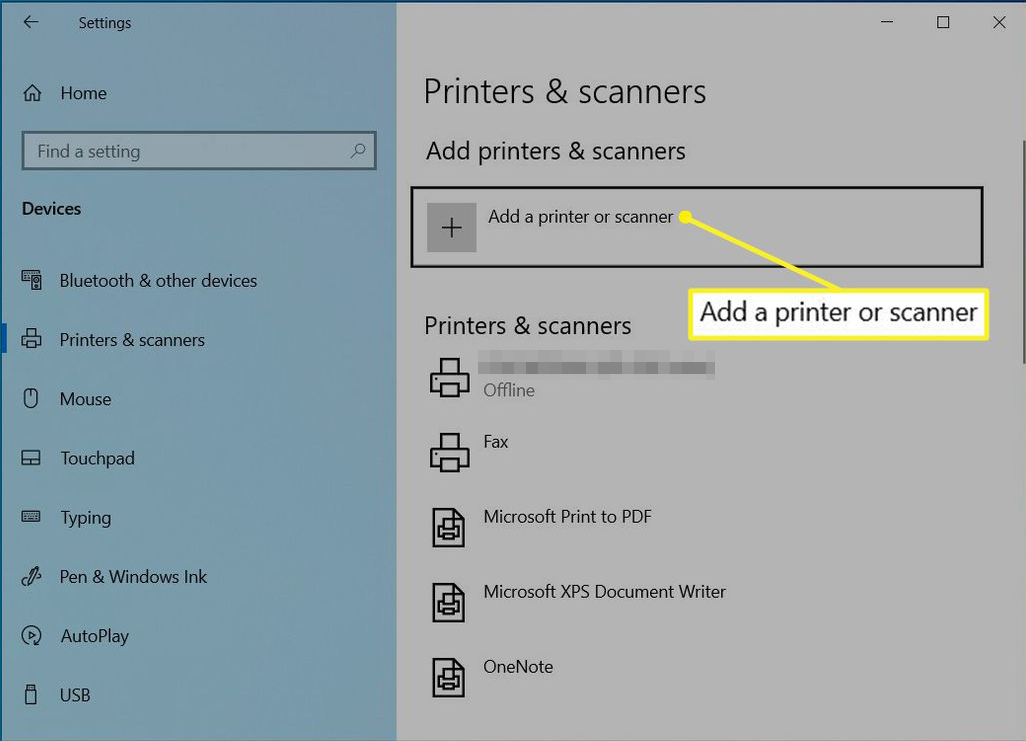
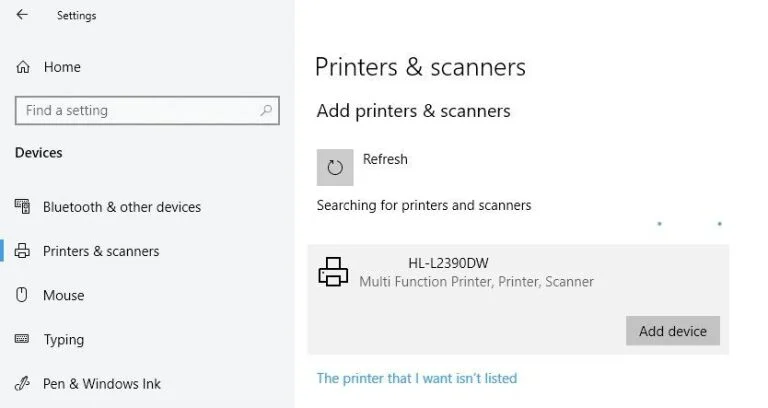
- At the beginning of the process, go to “Control Panel” → “Devices and Printers” → “Add a Printer.”
- Now, choose your Brother printer from the list of available devices.
- In the next step, you have to follow the prompts to add it.
For Mac:
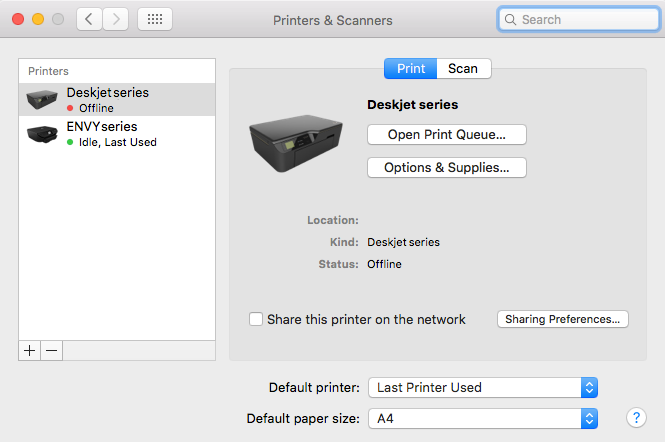
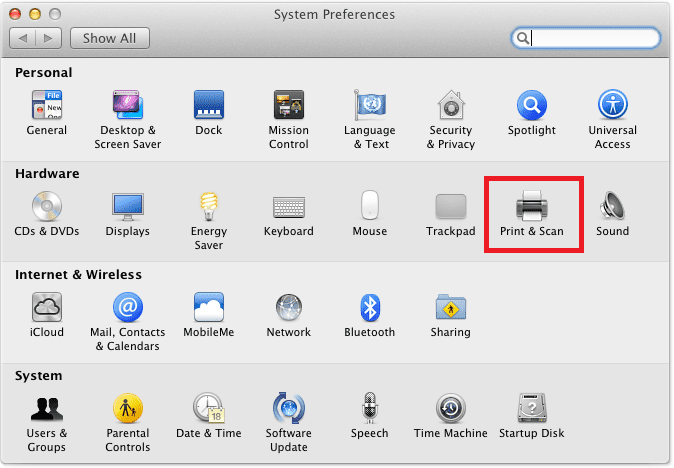
- For your iOS devices, you need to open “System Preferences” → “Printers & Scanners.”
- After that, click the “+” button.
- Thereafter, find your Brother printer.
- Last but not least, click “Add.”
5. Test the Wireless Connection
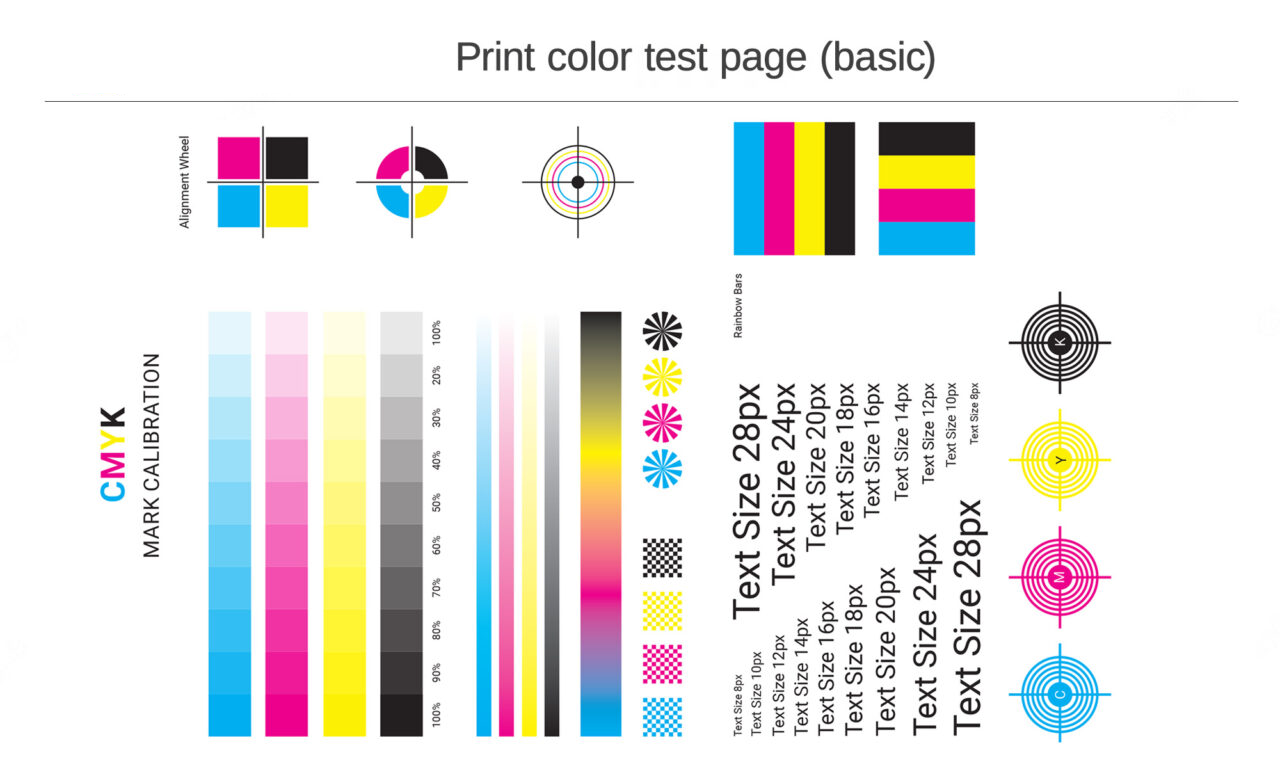
- Now, print a test page from your device to ensure the setup of your printer. It will help you confirm that all configurations are correct and your printer is ready for use.

6. Configure Mobile Printing (Optional)
To initiate the process of printing from your smartphone or tablet, you need to download the “Brother iPrint&Scan app” from your device’s app store. After that, you have to connect the app to the same wireless network as your printing device. This way, you can initiate printing directly from your mobile device.
Brother Printer Wireless Setup Without CD
Undoubtedly, the Brother Printer Wireless Setup Without CD is not only straightforward but also quick & convenient. All you need to do to ensure efficient printing is following the steps given below –
1. Gather Essential Requirements
Before going to start the process, you need to confirm that you have –
- A stable Wi-Fi network.
- Correct SSID and password
- A computer device
- Either a smartphone, or tablet connected to the same network.
- The Brother printer is powered on.
2. Download Necessary Software
Before going to start the process, you need to confirm that you have –
- To kick-start the process, you have to visit the official “Brother Support Website”.
- Now, enter the name of your printer model in the search bar.
- Later on, you can choose it from the results.
- In the next step, navigate to the “Downloads” section.
- Thereafter, select your operating system. It can be either Windows or macOS.
- Finally, you have to download the “Full Driver & Software Package” or “Wireless Setup Tool.”

3. Prepare Your Printer for Wi-Fi Setup
- For the preparation of your printer for the Wi-Fi setup, you have to press the “Menu” or “Settings” button on the control panel of the printer.
- Next, you need to make the proper utilization of the navigation buttons to go to “Network → WLAN → Setup Wizard.”
- After doing so, your printing device will start searching for the available wireless networks.
- Now, choose your Wi-Fi network (SSID) from the list.
- Thereafter, enter the password in the box with the use of the printer’s keypad.
- Lastly, you have to wait until the printer connects to the network.
Note: A steady Wi-Fi light will indicate you have a successful connection.
4. Install the Downloaded Drivers
- At the beginning of the process of installing the Downloaded drivers.
- Secondly, open the downloaded driver or software package on your computer.
- Now, select the “Wireless Network Connection” option.
- Later on, follow the on-screen instructions so that you can connect the printer to the same network as your device.
- Finally, the installation wizard will automatically detect your printer. Choose it and accomplish the setup.
5. Add the Printer to Your Device
For Windows:
- For the Windows OS, you need to go to “ Control Panel → Devices and Printers → Add a Printer.” Control Panel → Devices and Printers → Add a Printer.
- In the next step, you need to choose your Brother printer from the list of available devices.
- Last, it is essential for you to click “Next” to complete the process.
For macOS:
- On the other hand, for the macOS, it is essential for you to open System Preferences → Printers & Scanners.
- Later on, hit the + button > locate your Brother printer >click Add.
6. Verify the Connection
In this step, you need to print a test page. It will help you to confirm that your Brother printer is successfully set up and ready for wireless use.
7. Set Up Mobile Printing (Optional)
It is up to you whether you prefer to set up your Brother printer using your mobile phone. The steps for this procedure are –
- Download the “Brother iPrint&Scan” app from the app store of your device.
- Now, make sure that your mobile device is connected to the same Wi-Fi network as a printer.
- Finally, you need to open the app > detect your printer > start printing directly from your smartphone or tablet.
Brother Printer Installation
Brother printers are recognized for their credibility and advanced characteristics. These devices provide all users with a multitude of functions, involving – wireless connectivity and high-quality output. This is why there is a high need for the proper Brother Printer Installation software. By doing so, you will be able to unleash the full potential of the printer and can print, scan, & copy more easily.
Which operating system do you prefer for a successful installation procedure? Well, it does not matter at all. Once you initiate the process, you can be able to confirm the optimal performance of your device as well as its compatibility with other devices.
Why are you beating about the bush?
Without wasting even a single second, follow the steps as follows and enjoy hassle-free operation & meet their printing requirements more efficiently…
How to Install Brother Printer Without CD
Have you misplaced the installation CD? Or does your device lack a CD drive? Well, you need not worry at all. Despite this, you can still install your printer more conveniently. Here are the steps that will help you to install Brother printer Without CD. Let’s follow the steps given below –

1. Check Printer Compatibility
At the beginning of the process, you need to verify, “Is your Brother printer compatible with your operating system or not?” After doing so, you need to visit the Brother website and double-check for a supported model that is under the “Downloads” section.
2. Connect Your Printer
For Wired Connection:
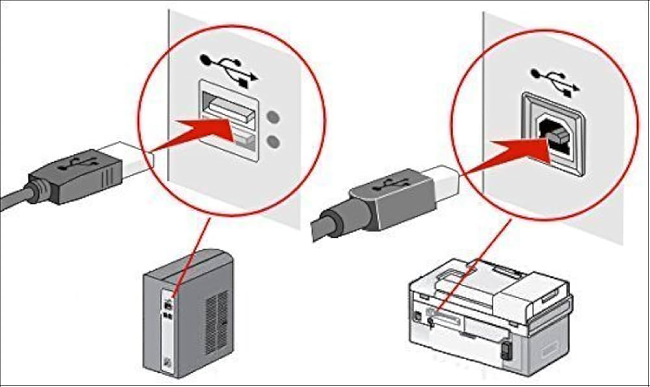
- Utilize the USB cable to connect the printer to your computer. Make sure that the connection is completely secure.
For Wireless Connection:
In this scenario, you need to turn on the Wi-Fi of your printer. Next, follow its display instructions so that you can connect to your home network.

3. Download Printer Drivers
Initially, visit the official Brother Support Website.
- Now, enter the name of your printer model in the search bar.
- After that, select your operating system (Windows, macOS, or Linux).
- In the last step, you have to download the recommended driver package.
4. Install the Driver
First of all, open the downloaded file.
- In the next step, follow the on-screen instructions.
- Thereafter, choose the connection type (either USB or wireless).
- Finally, complete the installation process.
5. Add Printer to Your System
For Windows:
- Go to “Control Panel” → “Devices and Printers” → “Add a Printer.”
- After that, Select your Brother printer from the list.
For macOS:
- Open “System Preferences” → “Printers & Scanners” → “Add Printer.”
- Later on, choose your Brother printer.
- Last but not least, click “Add.”
6. Test the Printer
Now, it’s the right time to print a test page. It will enable you to confirm that your printer is working correctly. Once you are done with this, open any document and choose your Brother printer from the print options.
Install Brother Printer For Windows 10 and Mac
Now, we will help you to familiarize yourself with the steps involved in the process of installing Brother printer for Windows 10 and Mac. Without much delay, let’s delve into this section –
For Windows 10
1. Connect the Printer
Wired Connection:
- In the first step, you need to use a USB cable to connect the printer to your computer.
Wireless Connection:
- In this scenario, you have to turn on the printer > and connect it to your Wi-Fi network with the use of the control panel or WPS button.
2. Download the Driver
- To kick-start the process of downloading the driver, you have to visit the Brother Support Website.
- Now, enter your printer model in the search bar.
- After that, select “Windows 10” as your operating system.
- Finally, you need to download the driver package.
3. Install the Driver
- For the successful installation of the printer driver, open the downloaded file.
- Next, follow the on-screen installation instructions.
- Last but not least, choose the connection type (USB or wireless) when prompted.

4. Add Printer to Windows
- Initially, open the “Control Panel.”
- After that, click on “Devices and Printers.”
- Now, choose “Add a Printer.”
- Follow the step-by-step instructions so that you can add your Brother printer from the available devices.
5. Print a Test Page
- Now, it’s the right time to open any document and choose your Brother printer from the print options.
- Last but not least, print a test page so that you can confirm successful installation.
For mac OS
1. Connect the Printer
Wired Connection:
- For wired printers, connect the printer to your Mac with the proper utilization of USB.
Wireless Connection:
- On the contrary, for wireless printers you need to use the control panel of the printer so that you can connect it to your Wi-Fi network.
2. Download the Driver
- To initiate the procedure of downloading the printer driver, you need to go to the Brother Support Website.
- Later on, you have to enter your printer model.
- Now, choose “macOS” as your operating system.
- In the last step, download the recommended driver.
3. Install the Driver
- At the beginning of the installation procedure, open the downloaded file.
- After that, run the installer.
- Finally, it’s time to follow the on-screen prompts so that you can complete the setup.
4. Add Printer to mac OS
- Initially, go to “System Preferences.”
- Now, click on “Printers & Scanners.”
- Thereafter, select the “+” button so that you will be able to add your printer.
- Lastly, locate your Brother printer from the list and then click “Add.”
5. Print a Test Page
- To initiate the process of opening a document, you have to choose your Brother printer from the print menu.
- After that, it will be better for you to print a test page. It enables you to verify the installation.
FAQ’s
For the successful Brother printer setup, you need to unpack it. After that, you have to connect it to a power source, and load paper into the tray. Later on, install the ink or toner cartridge, and connect the printer to your computer either via USB or Wi-Fi. Download and install the driver from the official Brother Support Website to be able to complete the setup.
To initiate the Brother printer wireless setup procedure, you are required to connect your Brother printer to Wi-Fi. Utilize the control panel so that you can access the network settings. Choose “Wi-Fi” or “Wireless Setup” > select your network from the list > enter your Wi-Fi password. Make sure that your printer as well as computer are on the same network. It will be beneficial for the ultimate connectivity.
You can easily download the Brother printer installation software from the official Brother Support Website. Now, enter your printer model > select your operating system > and download the recommended driver or full software package.
Yes, it is quite possible for you to install Brother printer without CD. You can download the necessary drivers and software from the Brother Support Website. Now, follow the on-screen instructions so that you can set up the printer.