Quick and Easy Setup Instructions To Set Up Canon Pixma TR4720
In the digital interconnected world, there are several printers available that assist the printing industry. In the meantime, the Canon PIXMA TR4720 printer steps in. Do you know how to set up Canon PIXMA TR4720 printer? Well, it may seem overwhelming. But it is true that with the help of the right steps, you can accomplish the procedure more effortlessly.
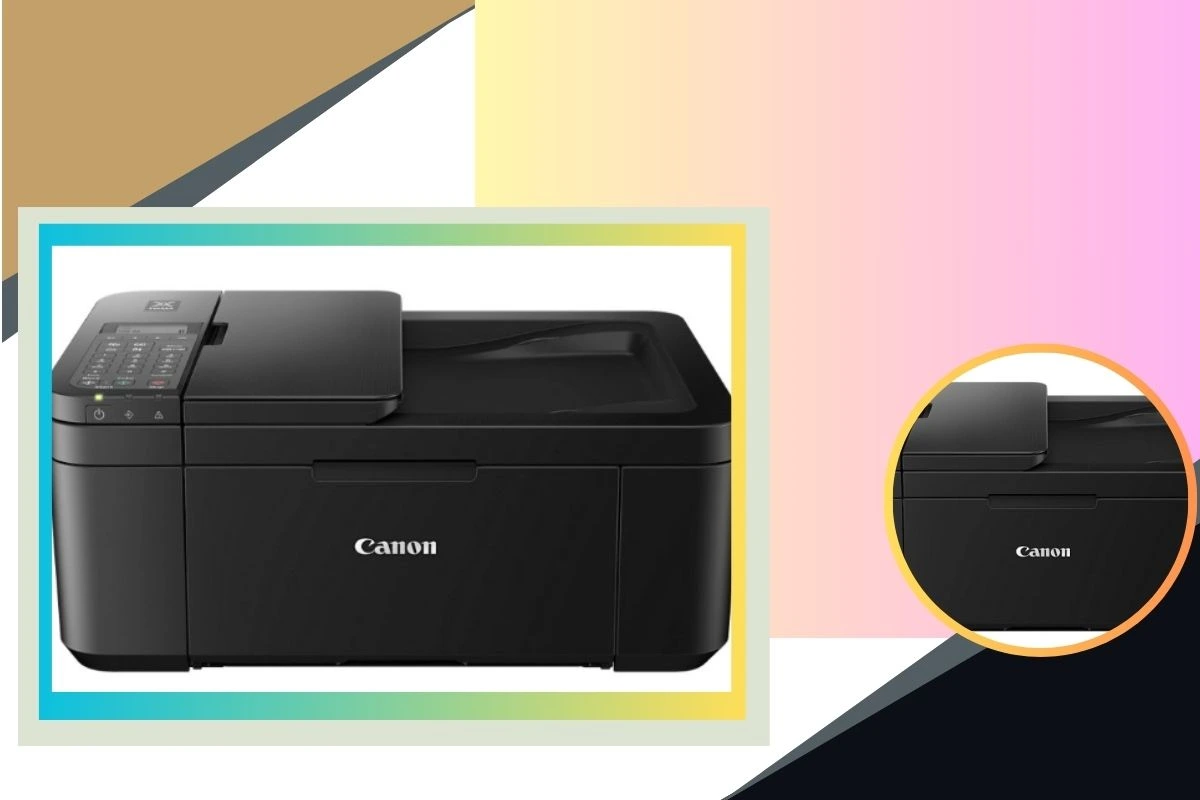
The Canon PIXMA TR4720 printer plays a significant role in assisting the printing industry. The best part about these devices is that they try to keep up with the requirements of all individuals. They could surely be termed as a piece of equipment that has brought a big revolution in the printing industry. They can definitely do small-scale printing, commercial holdings, and banners as well.
Are you going to connect the printer to Wi-Fi? Or are you in need of installing drivers and performing a test print? If so, this guide will surely help you to walk through all the steps that you need to know. After exploring this guide, you will get an idea about the detailed procedure for setting up the printing device. This way, you can achieve a seamless printing experience.
Let’s take a deep dive into the step-by-step instructions mentioned in this post……
How to Set Up Canon PIXMA TR4720?
Are you not aware of the process for setting up Canon PIXMA TR4720? Want to know the complete procedure for the same? If yes, you are in the right place. After scrolling down, you will get an idea about all the steps involved in the procedure. Keep reading this section carefully….
Step 1: Unbox and Prepare Your Canon PIXMA TR4720
Before you move forward, you need to make sure that you have all the essential components.
What’s in the Box?
- Canon PIXMA TR4720 Printer
- Power cord
- Setup CD (optional for Windows users)
- Ink cartridges (Black and Tri-Color)
- User manual
Setup Canon PIXMA TR4720 from the Box: How?
- In the first step, remove the printer from the box. Then, place it on a flat surface.
- Now, take off all protective tapes and packaging materials from the printer.
- After that, open the front cover and paper output tray. It will allow you to remove any protective inserts inside.
- Thereafter, connect the power cord to the back of the printer. In the next step, you need to plug it into a power outlet.
- Finally, turn on the printer by pressing the power button.
Step 2: Install Ink Cartridges
Now, it’s time to set up Canon PIXMA TR4720 properly. For this, you need to install the ink cartridges that already come with the printer. Let’s see how you can do it….
- To kick-start the process, you need to open the front cover. Then, you need to lift the ink cartridge cover.
- In this step, you need to wait for the carriage to move to the center for the easiest access.
- Now, unpack the ink cartridges (Black and Color).
- Later on, remove the protective tape from the contacts. Additionally, you need to avoid touching the copper section.
- After that, insert the cartridges into their respective slots:
Black ink goes into the right slot.
Color ink goes into the left slot.
- Thereafter, rush the cartridges in until they click into place.
- Finally, close the ink cartridge cover and the front cover of the printer.
Step 3: Load Paper into the Tray
- At the beginning of the process, open the rear paper tray and pull out the paper support.
- Now, adjust the paper guides so that it can fit the size of the paper you’re utilizing.
- In this step, you need to load a stack of paper with the printable side facing up.
- Then, slide the guides to fit snugly around the paper stack.
- Last but not least, close the paper tray. Thereafter, you need to pull out the output tray extension.
Step 4: Download and Install Printer Drivers
Do you want to use the printer? If yes, you must install the required drivers on your computer. Let’s have an eye on the steps involved in the whole procedure……
For Windows Users
- First of all, visit Canon printer official website.
- Next, go to the support section.
- After that, search for PIXMA TR4720 and proceed to downloading the latest drivers for Windows.
- Now, open the downloaded setup file.
- Thereafter, follow the on-screen instructions.
- It’s the right time to select your connection method. You can either choose USB or Wireless.
- Finally, complete the installation and restart your computer if needed.
For Mac Users
- To kick-start the procedure, you are required to open the Canon website.
- Now, download the macOS-compatible drivers.
- In the next step, open the setup file and start the installation.
- After that, follow the prompts so that you can install the printer software.
- In the last step, you need to restart your Mac. You have to do it after the installation is completed.
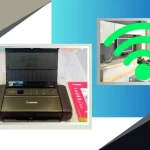
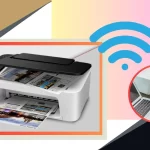
Step 5: Connect Canon PIXMA TR4720 to Wi-Fi
Undoubtedly, a wireless connection allows you to print from multiple devices. You can do it with the use of the cables. Let’s explore the key steps given below….
Easy Steps to Set Up Canon PIXMA TR4720 on Wi-Fi: What Are They?
- In the first step, you need to press the Wi-Fi button on the printer.
- You have to hold this button until the power light starts blinking.
- Now, go to your router and press the WPS button. You can access the WPS button if it is available.
- Later on, the printer will automatically detect and connect to the Wi-Fi network.
- Lastly, once connected, the Wi-Fi light on the printer will stop blinking and remain solid blue.
Alternative Method (Without WPS Button)
- Initially, go to Canon’s website.
- Next, download the Canon PRINT Inkjet/SELPHY app on your smartphone.
- After that, open the app and choose Add Printer → PIXMA TR4720.
- In the final step, you need to follow the on-screen steps. This way, you can connect the printer to your home Wi-Fi.
Step 6: Connect the Printer to Your Computer
Has your printer been connected to Wi-Fi? If yes, you need to go ahead to set it up on Windows and Mac.
How to Set Up Canon PIXMA TR4720 on Windows?
- Initially, click on the Start menu and open Settings → Devices.
- Now, select Printers & Scanners → Add a Printer or Scanner.
- Later on, wait for the Canon PIXMA TR4720 to appear. Then, select it.
- In this step, you need to click Add Device and wait for the setup to complete.
How to Set Up Canon PIXMA TR4720 on Mac?
- First of all, click the Apple menu and go to System Preferences.
- In the next step, open Printers & Scanners.
- After that, click + (Add Printer) and choose Canon PIXMA TR4720 from the list.
- Finally, click Add. This way, the printer will be installed on your Mac.
Step 7: Perform a Test Print
- To kick-start the testing procedure, open any document or image on your computer.
- Now, click File → Print.
- In this step, you need to select Canon PIXMA TR4720 as the printer.
- Last but not least, adjust print settings and click Print.
Note: If the test print is successfully completed, it means that your printer is set up and ready to use!
Conclusion
Ultimately, now, you will surely be able to set up Canon PIXMA TR4720. We have mentioned the correct steps in this post. After having an overview of these steps, you can print efficiently. In case you encounter any setup issues, you can refer to Canon’s official support page for more help.
FAQs
How do I set up Canon PIXMA TR4720 for the first time?
To set up your Canon PIXMA TR4720, you have to unbox the printer. In the next step, you need to install the ink cartridges. In addition to this, you are required to load paper, install drivers, and connect it to Wi-Fi or a computer.
Can I set up Canon PIXMA TR4720 without a USB cable?
Yes, it is true that you can set up the printer with the use of a wireless (Wi-Fi) connection. Or you can also do it through the Canon PRINT Inkjet/SELPHY app.
How do I set up Canon PIXMA TR4720 on Mac?
To complete the process, you have to go to System Preferences → Printers & Scanners. Now, you need to click Add Printer, and choose Canon PIXMA TR4720 from the available devices.
What should I do if my Canon PIXMA TR4720 is not connected to Wi-Fi?
If your Canon PIXMA TR4720 is not connected to Wi-Fi, restart your printer and router. Along with this, also use the Canon PRINT Inkjet/SELPHY app. It will allow you to reconnect to your network manually.
How do I install drivers for Canon PIXMA TR4720?
To kick-start the process of installing drivers, you need to visit Canon’s official website. Later on, download the latest drivers for Windows or Mac. Then, you need to follow the on-screen instructions to install them.