Epson Printer Setup
Introduction
Are you eager to get printing in no time? If so, the Epson printer setup is the way to enjoy seamless printing. No matter, if you want to connect it to your computer or a wireless network, by setting up your Epson printer you can surely confirm seamless integration with your devices.
Wanna complete the whole setup process without any interruption? If yes, we have got you covered. Once you walk through the key details given on this platform, you will be able to take advantage of the latest technology and user-friendly features. It will confirm that your printing device is ready to deliver high-quality prints.
Now no more delay in experiencing hassle-free setup for your Epson printer. Let’s get started!!
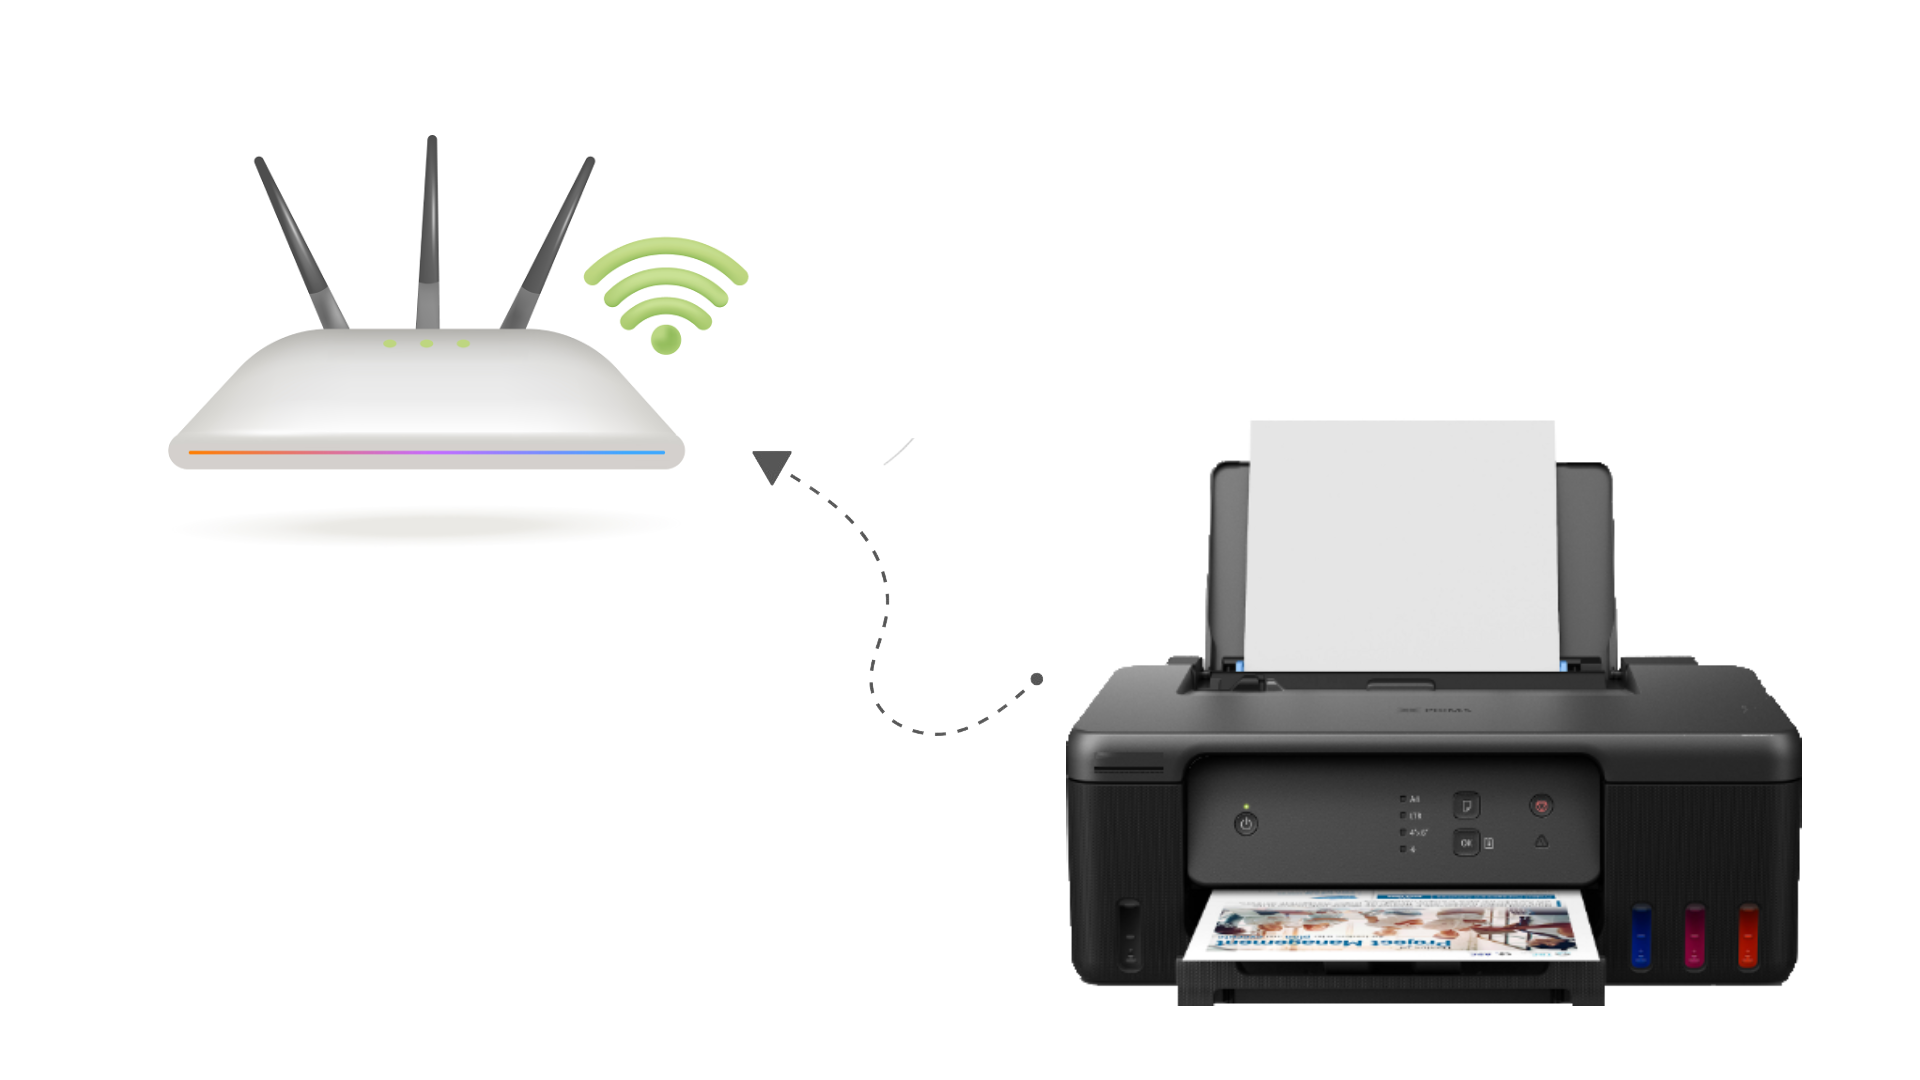
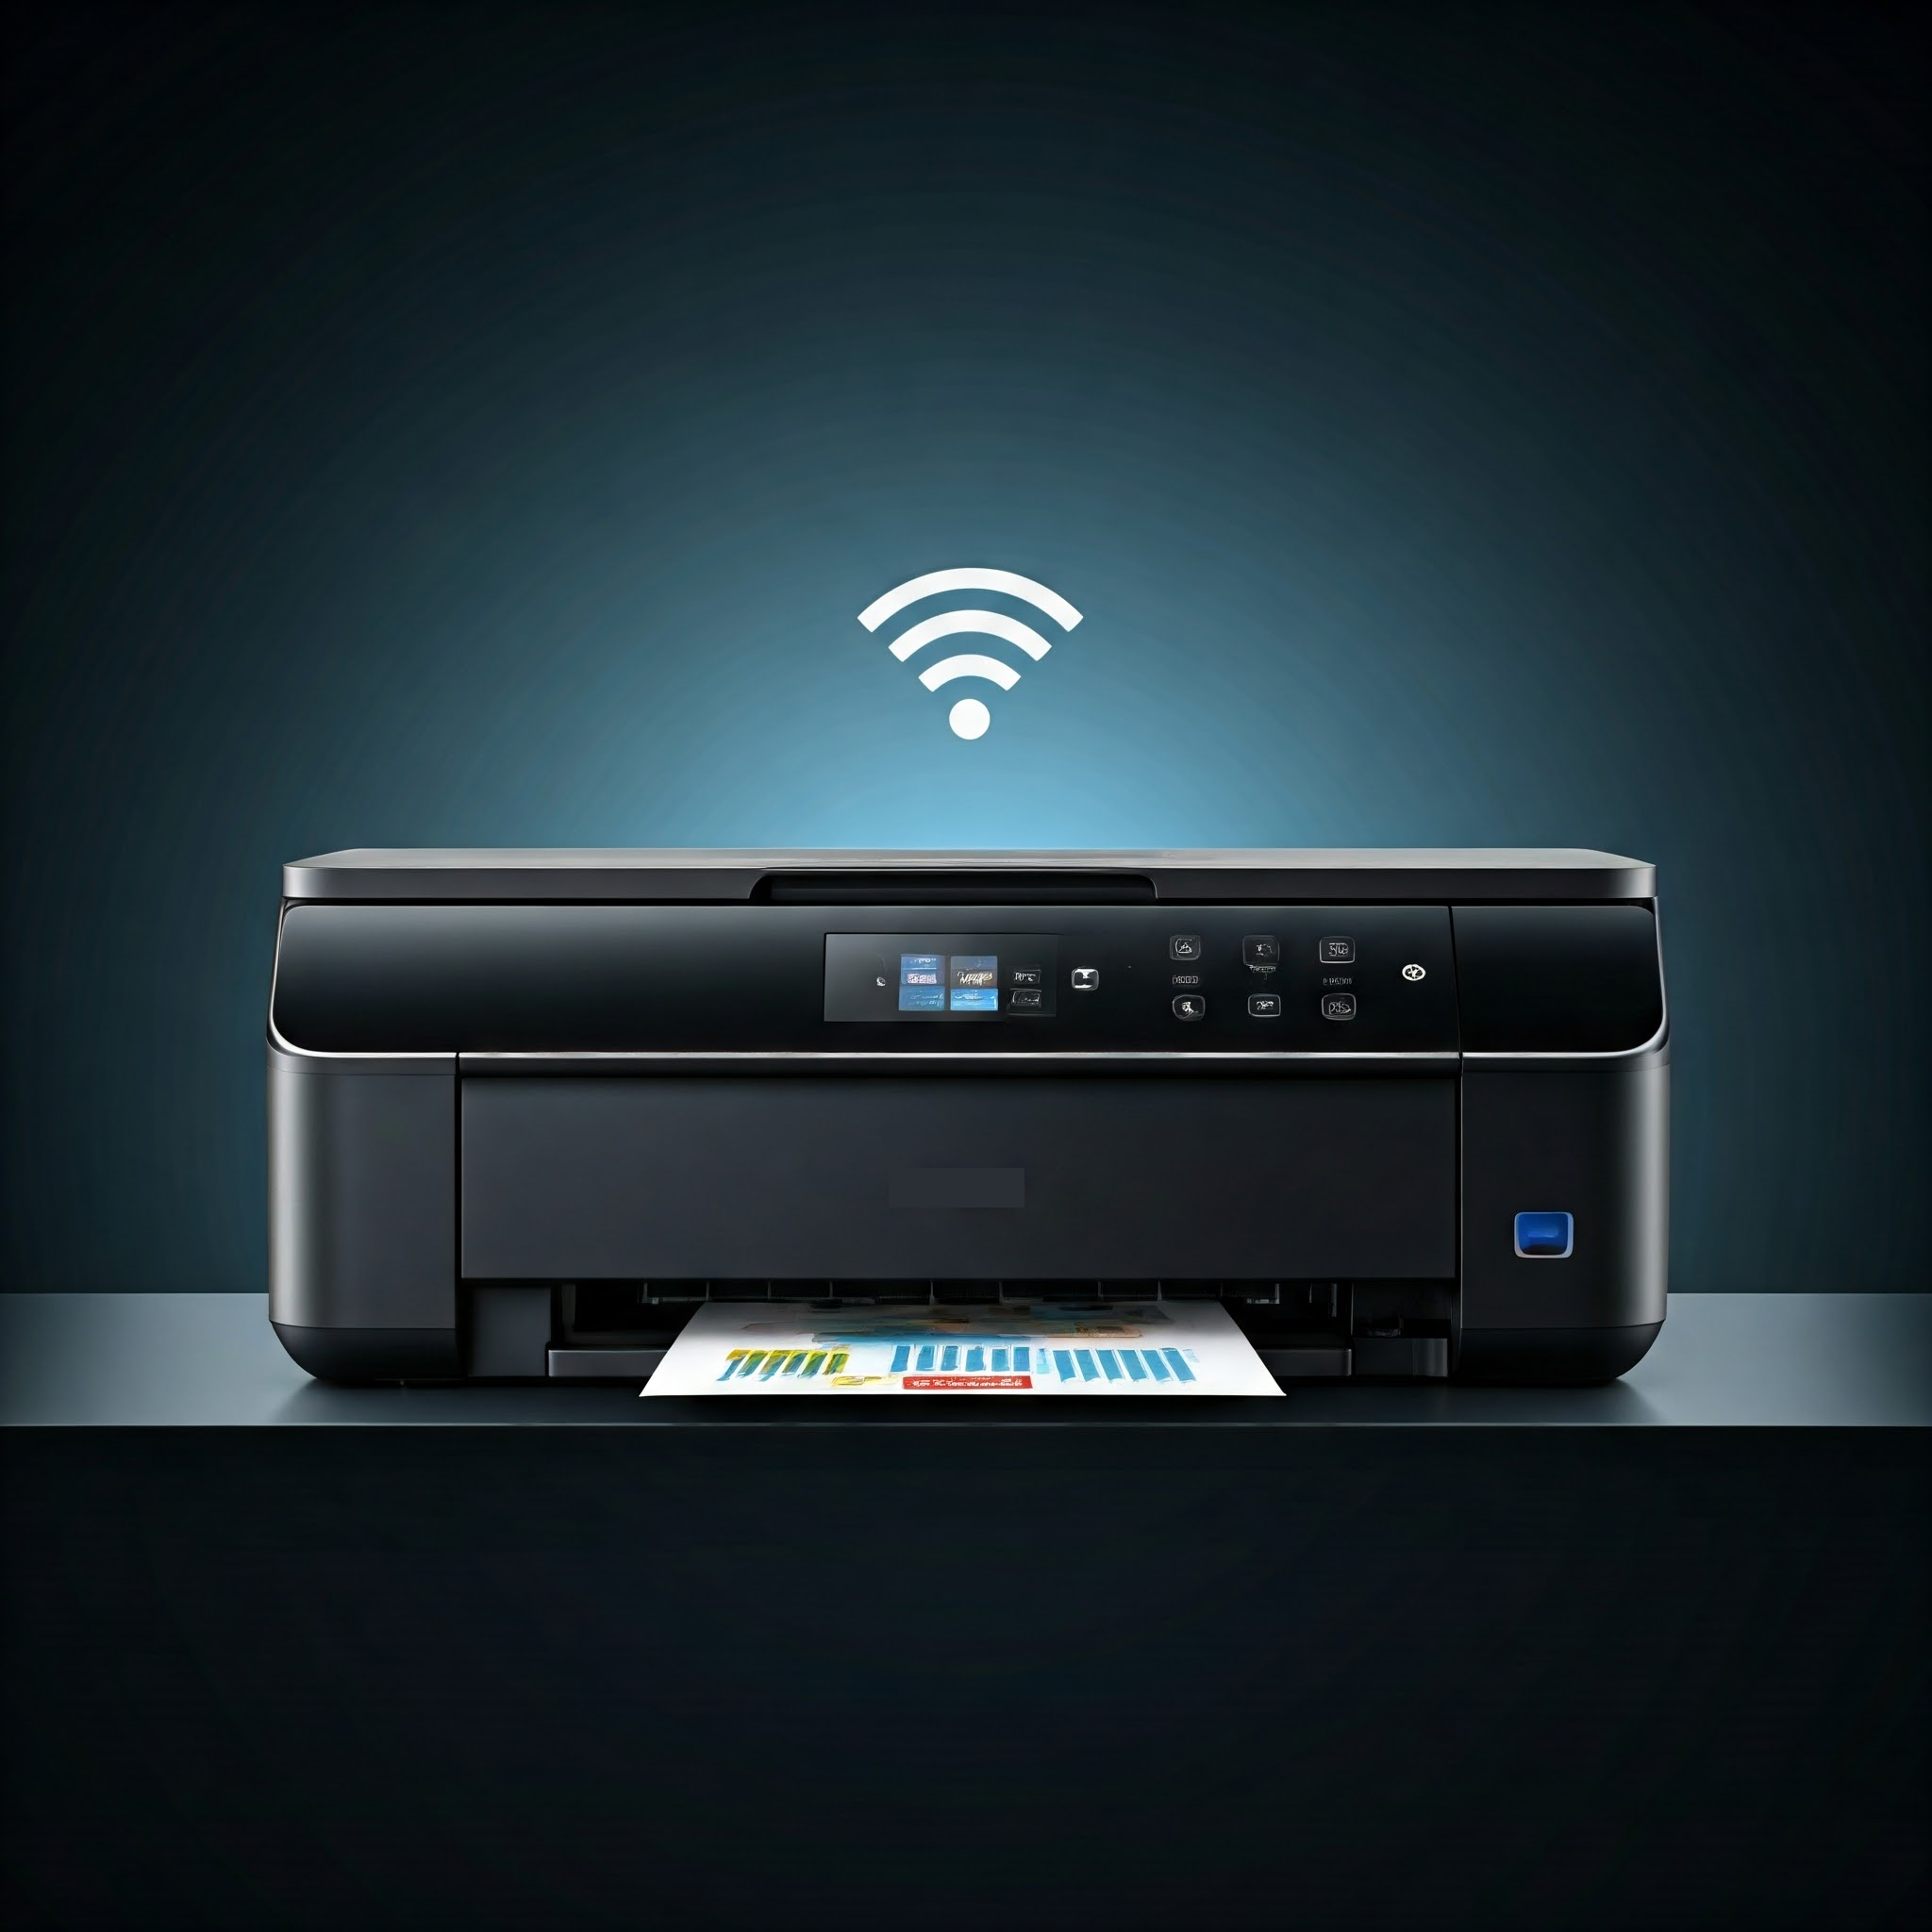
Easy Steps For Epson Printer Wireless Setup
To assist you in becoming familiar with the step-by-step procedure for the Epson printer wireless setup, we have curated this section. Here, you will get an insight into the key steps related to setting up the Epson wireless printer. Let’s proceed!!
1. Prepare Your Printer
Turn on the Printer:
- At the beginning of the setup procedure, press the power button so that you can switch on your Epson printer.
Check the Printer’s LCD Panel:
- Make sure that the screen is active and ready for setup.
2. Access the Network Setup Menu
- Initially, use the printer’s control panel or touchscreen display.
- Now, navigate to Home > Setup > Network Settings > Wireless Setup Wizard.

3. Select Your Wi-Fi Network
- In the first step, the printer will scan for available networks.
- Next, select your Wi-Fi network from the list.
- After that, enter your Wi-Fi password with the use of the on-screen keyboard.
4. Confirm the Connection
- Once the devices are properly connected, a confirmation message will appear to you on the screen.
- Thereafter, print a network status sheet to verify the connection.
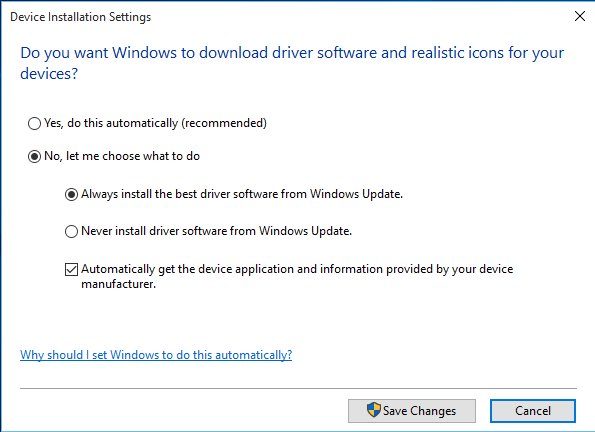
5. Install Drivers on Your Computer
- To kick-start the installation process, you need to visit Epson’s official support website.
- Later on, enter your printer model. Apart from that, it is also essential for you to download the appropriate drivers.
- Finally, run the installation file and follow the prompts to accomplish the setup.
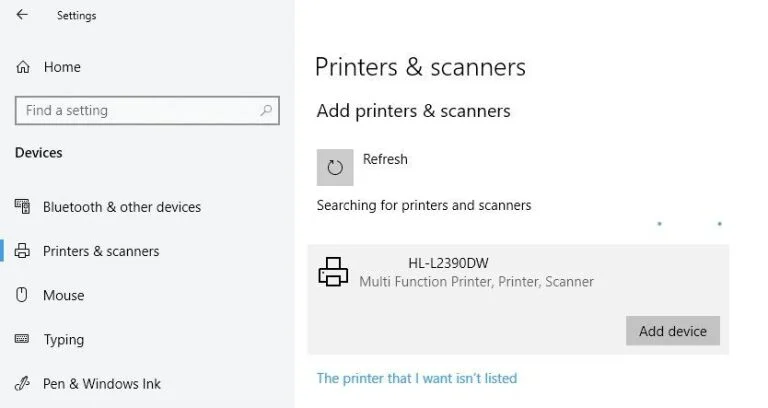
6. Add the Printer to Your Devices
On Windows:
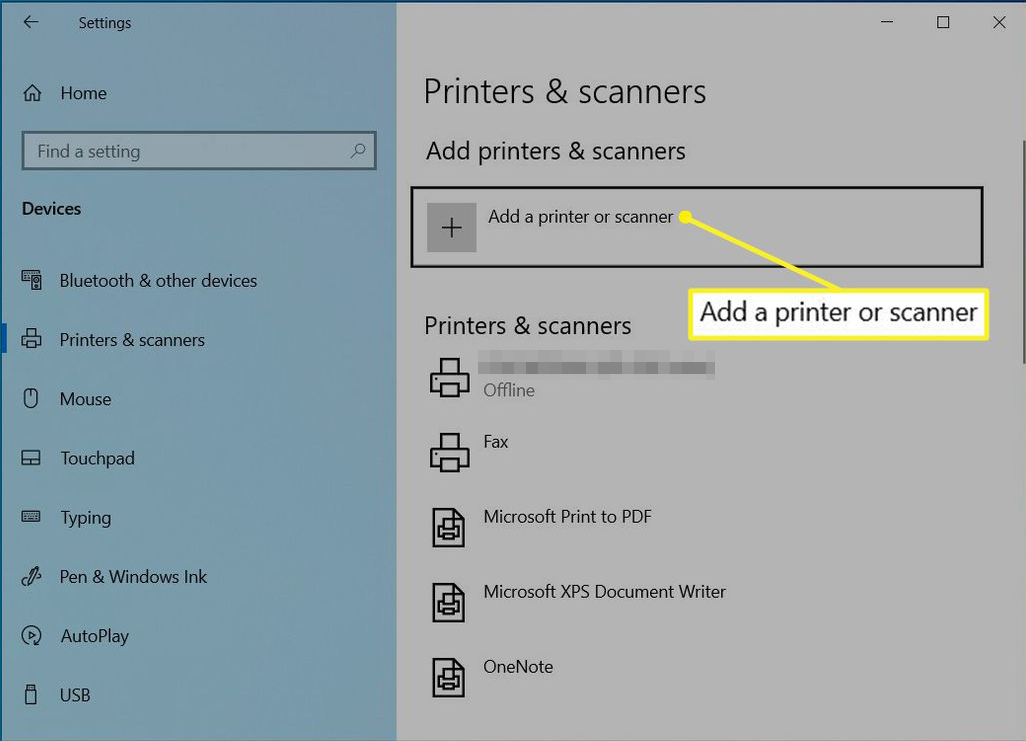
- Firstly, go to Settings > Devices > Printers & Scanners > Add a Printer.
On Mac:
- On your iOS device, Open System Preferences > Printers & Scanners > Click the “+” button to add your Epson printer.
Epson Printer Wireless Setup Without CD
Once you have an all-seeing eye on the steps for the Epson Printer Wireless Setup Without CD, it will be easier for you to complete it. Now, you can conveniently set up your wireless Epson printer without any unwanted issues.
So, what are you waiting for? Let’s move ahead and delve into the setup process
1. Prepare Your Printer
Turn on the Printer:
- First of all, power on your Epson printer. Now, make sure that the device is properly set up with ink paper.
Activate the Wi-Fi Setup Mode:
- In the first step, press the Home button on your printer’s control panel.
- Now, navigate to Setup > Network Settings > Wireless Setup Wizard.
2. Connect to Your Wi-Fi Network
- Firstly, the printer will search for available Wi-Fi networks.
- The next step, select your Wi-Fi network from the list.
- After that, enter the Wi-Fi password with the use of the on-screen keyboard.
- Last, but not least, confirm the connection and then wait for the successful connection message.

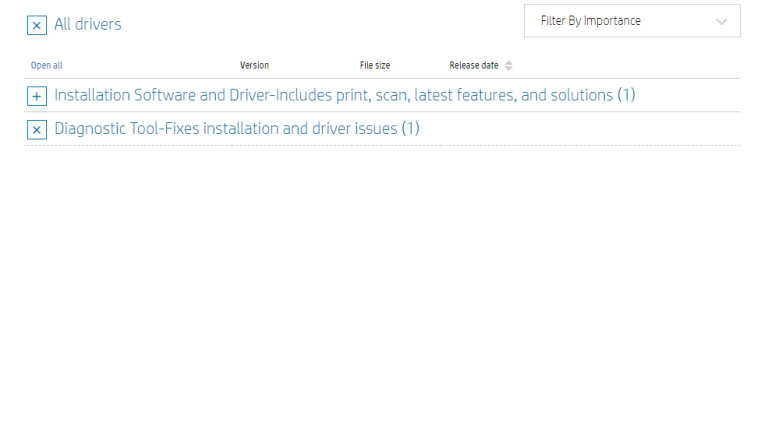
3. Download the Printer Driver
- At the beginning of the downloading process, you need to open a web browser.
- Now, go to Epson’s Support Website.
- Thereafter, search for your printer model under the Drivers & Downloads section.
- Finally, download the appropriate driver and software for your operating system (Windows or macOS).
4. Install the Printer Driver
- For the successful installation of the printer driver, you need to open the downloaded driver file.
- In the next step, follow the installation prompts.
- Thereafter, select Wireless Connection as the connection type.
- Last but not least, the software will detect your printer on the network. This way, you will be able to complete the installation.
5. Add Printer to Your Device
On Windows: In this step, go to Settings > Devices > Printers & Scanners > Add a Printer.
On Mac: For your Mac OS, you have to open System Preferences > Printers & Scanners > Click the “+” button to add your Epson printer.
6. Test the Printer
Now, print a test page so that you can confirm the success in setting up the Epson Printer without CD.
Epson Printer Installation
Honestly speaking, Epson Printer Installation is the simplest and the most user-friendly procedure. It does not matter at all whether you are setting up a new device or reinstalling an existing one. This is confirmed that in every situation Epson will offer you guidance to ensure seamless integration with your computer or network.
One of the interesting things is that with the help of this device’s latest technology, it will be easy for Epson to assure first-time users. Now, it’s confirmed that users can achieve high-quality prints in no time.
Curious to know everything? Let’s dig a little deeper into the key details mentioned below –
How to Install Epson Printer Without CD
Are you willing to be aware of the steps to Install Epson Printer Without CD? If yes, you are in the right place. Here, you will certainly get in-depth details for the same. So, why are you wasting your precious time?
Keep reading this section more carefully to know each detail.
1. Prepare Your Printer
Turn On the Printer:
First of all, power on your Epson printer. Now, make sure that the device is set up with ink cartridges and the paper is loaded properly.
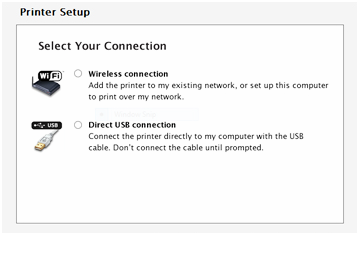
Connect the Printer:
You need to decide whether you are required to connect the printer to your computer with use of a USB cable or wirelessly via Wi-Fi.2. Download the Printer Drivers
- Initially, open a web browser
- Now, visit Epson’s Support Website.
- After that, enter your printer model in the search bar.
- In the next step, navigate to the Drivers & Downloads section.
- Lastly, select your operating system (Windows or macOS). Thereafter, you can proceed to download the appropriate driver as well as software package.
3. Install the Driver
- To kick-start the procedure of installing the driver, open the downloaded file.
- Now, follow the on-screen instructions..
- Choose the connection type.
USB Connection:
In this step, you need to connect the printer to your computer with the use of a USB cable when prompted.
Wireless Connection:
You need to confirm that the printer is connected to the same Wi-Fi network as your computer.
4. Add the Printer to Your Device
On Windows: To initiate the process of adding the printer to your device, you have to go to Settings > Devices > Printers & Scanners > Add a Printer or Scanner. After that, you need to select your Epson printer from the list.
On Mac: On the other hand, Open System Preferences > Printers & Scanners > Click the “+” button and select your Epson printer.

5. Test the Printer
In the last step, you have to print a test page. It will allow you to confirm that the printer is working correctly.
Install Epson Printer For Windows 10 and Mac
Are you going to Install Epson Printer For Windows 10 and Mac? If so, to guide you we have curated this section separately.
All you need to do is have an eye on the information given below –
1. Prepare the Printer
- In the first step, you have to turn on the printer.
- Make sure that the device is properly set up with ink and paper.
- Next, you need to connect the printer to your computer with the use of a USB cable. Along with this, you can also ensure that the device is ready for wireless connection.
2. Download the Drivers
- To begin the process of downloading the drivers, visit Epson’s Support Website.
- In this step, you need to enter your printer model.
- Now, navigate to the Drivers & Downloads section.
- Last but not least, select Windows 10 as your operating system. Then, you will be able to download the recommended drivers.
3. Install the Drivers
- Initially, open the downloaded file. After that, follow the installation prompts.
- Choose your connection type:
USB Connection:
In this case, you have to plug the printer into your computer when prompted.
Wireless Connection:
On the contrary, connect the printer to the same Wi-Fi network as your computer.
4. Add the Printer
- Firstly, open Settings > Devices > Printers & Scanners.
- Now, click Add a printer or scanner.
- After that, select your Epson printer from the list.
- Finally, it’s time to click Add Device.
5. Test the Printer
In the last step, print a test page so that you can confirm the installation is successful.
For Mac
1. Prepare Your Printer
Prepare the Printer:
- Firstly, turn on the printer.
- In the next step, load the printer with paper and ink.
- Now, you need to confirm that the printer is connected via USB or wirelessly to your network.
2. Download the Drivers
Prepare the Printer:
- First of all, go to Epson’s Support Website..
- After that, enter your printer model> navigate to Drivers & Downloads> and choose your macOS version..
- Last, download the recommended driver as well as the utility package.
3. Install the Drivers
Prepare the Printer:
- At the beginning of the installation process, open the downloaded file. After doing so, follow the on-screen instructions.
- Select your connection method:
USB Connection:
Firstly, connect the printer to your Mac when you see the prompts on the screen.
Wireless Connection:
In this case, connect your printer to the same Wi-Fi network as your Mac.
4. Add the Printer
- Initially, click open System Preferences > Printers & Scanners.
- Tap the + button and select your Epson printer from the list.
- Lastly, click “Add.”
5. Test the Printer
For the ultimate and complete verification, you can surely verify the installation procedure.
FAQ’s
For the perfect set up of your Epson printer, unbox it> load the ink cartridges & paper > connect the device via USB or Wi-Fi> download the drivers from the Epson Support website >follow the installation prompts. Now, you will surely be able to complete the setup.
To connect your Epson printer wirelessly, use the printer’s control panel to access the Wireless Setup Wizard by using the printer’s control panel >Select your Wi-Fi network > enter the password > confirm the connection > and install the drivers on your computer. It will enable you to do wireless printing.
In the first step, download the installation software from Epson’s official support website > Search for your printer model > select your operating system > and download the driver package to accomplish the installation.
To install your Epson printer without a CD, you need to visit the Epson Support website > download the drivers for your printer model> and follow the on-screen instructions for installing the printer. You can also select a USB or wireless connection during setup as per the requirements.