A Beginner’s Guide To Scan From Canon Printer to Computer
Do you possess a Canon printer device? Wanna scan all physical documents into a digital form more conveniently? If yes, the Canon printer is an all-in-one printer device available for all users. Simply put, the Canon printer is a multi-functional printer that is the best solution to assist you in scanning a document or photo within a few minutes. Are you ready to scan from Canon printer to computer?
You are the luckiest one to be here. Your Canon printer has a scanner that will surely make it easy for you to scan from your printer to the computer device. Once you delve into this article you will know the detailed procedure to scan from Canon printer device to the computer system. No matter whether you have a Windows system or MacOS, you can easily & quickly scan any document with your Canon printer.
What are you waiting for?
Let’s take a deep dive into this blog post and become familiar with the process of scanning from a Canon printer to a computer device.
Buckle up!!
Steps To Scan From Canon Printer to Computer
Don’t you know how to scan from Canon printer to computer? If not, it’s not a big deal. You need not take it as a burden on your mind. To help you to be aware of the process for scanning from Canon printer to computer, we have curated this section. In this section, we have enlisted all the key steps to kick-start the whole process for the same.
Why are you beating about the bush? Let’s come to the main topic and initiate scanning from your printer to a computer device. Go ahead for the same…….
1. Prepare Your Printer and Computer
Before going to kick-start the scanning procedure, you need to make sure that your Canon printer is powered on. In addition to this, you also need to check that the printer is functioning properly. By setting up your printer properly, you can confirm a smooth operation. Apart from that, it will also become easy for you to minimize all sorts of errors during scanning.
Power On the Printer:
- In the first step, you need to press the power button on your Canon printer. Next, you can easily check if all indicator lights are functioning properly and as per your expectations.
Check Connectivity:
- Are you using a USB connection? If yes, you need to make sure that the cable is perfectly and safely connected to both your printer and the computer device. On the other hand, if you prefer to use a wireless connection, you need to take some precautions. It requires you to confirm that your printer and computer are connected to the same Wi-Fi network. Later on, you can verify the connection. It is possible for you to do this by printing a test page. Apart from that, you can also make it possible by accessing the printer settings on your computer.
2. Install the Canon Scan Utility
One of the amazing things about the Canon printer is that it offers committed as well as dedicated scanning software. This software is known as – Canon IJ Scan Utility. It simplifies the entire scanning procedure for you.
Download the Utility:
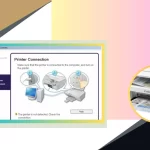
- To kick-start the process of downloading the utility, you have to visit Canon’s official website. Now, search for your printer model. In the next step, you need to download and install the Canon IJ Scan Utility. For this, you need to keep one thing in mind: it should be compatible with your operating system. The operating system can be either Windows or Mac.
Open the Utility:
- Have you installed the utility? If yes, now is the right time to locate and then proceed to launch the Canon IJ Scan Utility. You can do it from the application list on your computer. You will feel glad to know that this tool will surely provide you with several scanning options. These options will entirely be customized to your needs.
3. Load the Document
Have you placed your document properly? If yes, now it’s a great opportunity for you to confirm that you are acquiring high-quality scans.
Using the Flatbed Scanner:
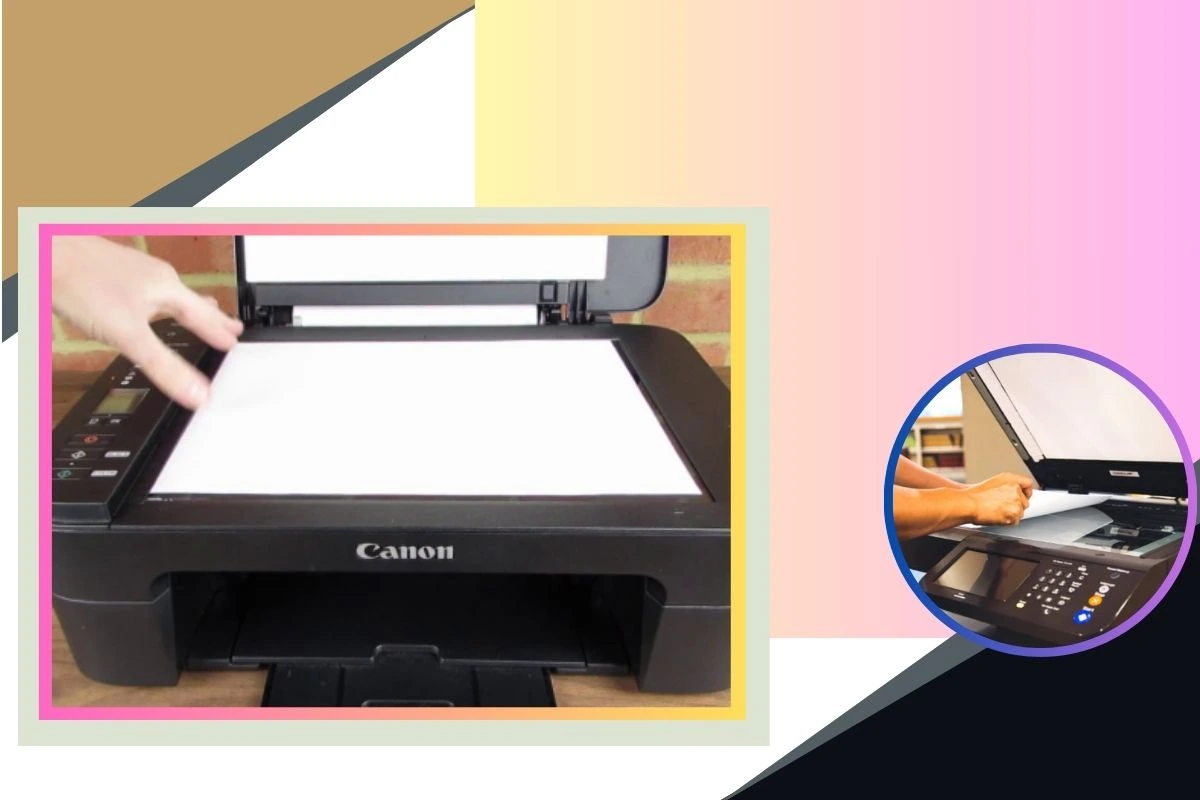
- If you are using the flatbed scanner, you have to lift the scanner lid. After that, you need to scan the document face-down on the scanner glass. Now, align the document with the guidelines. It will help you to prevent cropping or misalignment as well. Hence, you can go ahead to close the scanner lid gently so that you can avoid shifting the document.
Using the Automatic Document Feeder (ADF) (If Available):
- In this case, you have to insert multiple pages into the ADF tray. Later on, adjust the paper guides for a snug fit. Once you do it, you need to make sure that the pages are not curled. You also need to confirm that the pages are not bent. It will be helpful to you to prevent paper jams.
4. Open the Scan Utility
For your kind information, launching the Canon IJ Scan Utility is the next step in initiating the scanning process. Let’s have an eye on the steps given below –
Windows Users:
Being a Windows user, you need to click on the Start Menu and search for Canon IJ Scan Utility. After that, you are required to click to open the application.
Mac Users:
On the contrary, if you are using MacOS, you have to navigate to Applications and locate Canon IJ Scan Utility. Now, you have to click to launch the program.
5. Configure Scan Settings
Before going ahead to kick-start the scanning procedure, you have to adjust the settings. It should be done as per your preferences.
Select the Scan Type:
At the beginning of the process, you need to choose the scan type. Here, in this section, we have mentioned various scanning types. This way, you will be able to select the perfect scan type as per your printer model. Let’s have an overview of the below-mentioned scan types –
- Auto Scan: It enables the user to detect document types automatically. Along with this, you can also apply suitable settings.
- Document Scan: This scan type is ideal for text-based scans. It is an ideal one because it has options for grayscale or color.
- Photo Scan: Honestly speaking, it is easy to be optimized for high-resolution image scanning.
- Custom Scan: Are you looking for a scan type that may allow you to adjust resolution, format, and other settings manually? If yes, a custom scan is undoubtedly a perfect option.
Adjust Resolution and Color Mode:
Now, it’s the right time to make the adjustment in the resolution and color mode as well. If you opt for a higher resolution for instance – 300-600 DPI, it will allow you to confirm a better image quality. In addition to this, you can also ensure the best results in larger file sizes. When you are on the way to choosing color, you can choose Grayscale, or Black & White. It entirely relies on your scan requirements.
Select File Format and Save Location:
Next, you can proceed with choosing the file format. So, you need to choose a file format such as – JPEG, PNG, and PDF. Furthermore, select a convenient save location so that you can easily access scanned documents easily.
6. Start the Scan
Are you done with the whole process of configuring the settings? If yes, you can go ahead with the scanning process. Here are the steps that will show you the correct path to kick-start the scanning procedure. So, let’s see how you can start the scanning procedure….
To initiate the scanning procedure, you need to click on the Scan button in the Canon IJ Scan Utility. In the next step, wait for the printer to accomplish the scanning process. If you are using the ADF, you should know that all pages will be scanned automatically. Once you complete the scanning procedure, you will see a preview on the screen that requires it to be reviewed.
7. Access and Edit the Scanned File
After completing the scanning procedure, you have to access the document. Later on, you also need to organize or modify the scanned document.
Locate the File:
In the first step, you need to open the folder where the scanned file was saved. This way, the file will be stored in the designated format (JPEG, PDF, or PNG).
Editing the Scanned File:
Next, you are required to use the image editing software. These software are namely – Photoshop or MS Paint for image modifications. After that, make the proper utilization of Adobe Acrobat or other PDF editors. This way, you can edit as well as organize scanned PDFs.
Organizing the Scan:
Thereafter, you have to rename all files so that it will become easy for you to identify them. Now, you can surely move scanned files to a dedicated folder for better organization.
Wrapping-up,
In a nutshell, scan from Canon printer to computer is a simple as well as efficient process. But it is possible for you to make this procedure more successful only by following the right steps. This way, you can definitely achieve high-quality scans more effortlessly. If any issue takes place, you can check connectivity, reinstall software, and even adjust document placement. It will be fruitful for you to resolve common scanning issues.