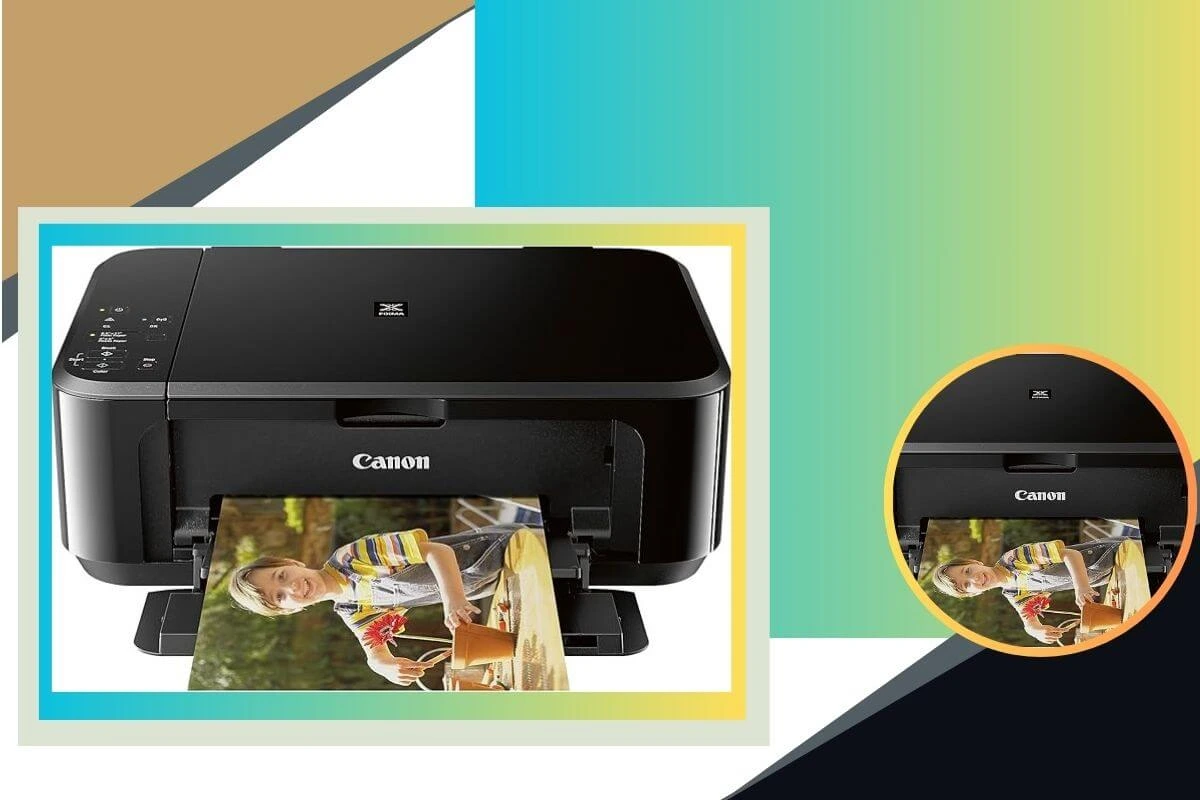
Step-By-Step Process To Set Up Canon Pixma MG3620
Throughout the years, printing technology has made extraordinary advances. This technology has evolved from simple printing on woodblock to the highly advanced digital printers we use today. Canon is one of the most well-known brands that consistently distinguishes out in the field of digital printing solutions. Set Up Canon Pixma MG3620 problem?
Canon printing equipment is identified with high quality, reliability, and performance. As a result, these gadgets have earned a high reputation in both business and residential settings. Whether it’s award-winning laser printers or flexible and small inkjet printers, Canon printers are the ultimate solution for all your printing needs. However, because Brother printers are among the pioneers of multi-function devices, you must first set up Canon Pixma mg3620.
It is a sad truth that Canon printer represent a unique combination of innovation, great efficiency, and durability. However, it is a technologically driven gadget that might cause issues. But don’t worry!! To be honest, the major goal of developing this tutorial is to offer you a complete list of procedures for more easily setting up your device. This allows you to effortlessly set up your printer. So, without spending a single minute, get your gadget ready and enter setup mode. Let’s go ahead to figure out the whole setup procedure………….
Complete Process To Set Up Canon Pixma MG3620
Wanna enjoy seamless printing, scanning, and copying? If so, it is a must for you to be aware of the process to set up Canon Pixma MG3620. Do you want to use it for home or office tasks? For this, you have to know the correct process that ensures optimal functionality.
Are you wondering how to set up Canon Pixma MG3620 successfully? If so, it is worth reading the steps mentioned below. Let’s go ahead and have an in-depth eye into the setup process for your device…..
Unboxing and Initial Setup
1. Unbox the Printer
At the beginning of the process, you need to carefully remove the printer from its packaging. In the next step, you are required to check for all required components. These are – power cord, ink cartridges, user manual, and installation CD.
2. Remove Protective Materials
Now, take off all protective tape and packaging materials. Later on, you need to open the scanner lid and paper tray so that you can make sure there are not any kind of obstructions.
3. Connect the Power Cord
After that, you need to plug the power cord into the printer and an electrical outlet. In the next step, you need to press the power button to turn on the Canon printer.
Installing Ink Cartridges
1. Access the Cartridge Compartment
First of all, you have to open the front cover to access the ink cartridge holder. Thereafter, wait for the cartridge holder so that you can move it to the center.
2. Insert Ink Cartridges
Now, unpack the ink cartridges carefully. Then, you have to insert the black and color cartridges into their respective slots. Finally, push them in until they click into place.
3. Close the Front Cover
In the next step, you need to close the front cover safely. Later on, the printer will start aligning the ink cartridges automatically.
Loading Paper
1. Open Paper Input Tray: To kick-start the process of loading the paper, you have to pull the paper input tray from the bottom.
2. Adjust Paper Guides: Now, slide the paper guides to fit the size of the paper that you are using.
3. Load Paper: After that, you are required to place a stack of plain paper into the input tray. Thereafter, adjust the guides gently against the paper stack.
4. Secure the Output Tray: Finally, it’s time to pull out the output tray so that you can hold the printed pages.
Connecting to Wi-Fi Network
1. WPS Push Button Method
In the first step, you need to make sure that your Wi-Fi router has a WPS button. After that, you have to press and hold the Wi-Fi button on the printer until the power light flashes. Thereafter, you are required to go ahead to press the WPS button on your router within 2 minutes. This way, your printing device will be connected to the Wi-Fi network automatically.
2. Standard Wireless Connection Method
This method is all about downloading the Canon PRINT app on your smartphone or tablet. In the next step, you need to follow the on-screen instructions so that you can connect the printer to your Wi-Fi network.
Installing Printer Drivers
1. Using Installation CD
To initiate the process of installing printer drives, you need to insert the installation CD into your computer’s CD drive. After that, you have to follow the on-screen prompts so that you can easily install the printer drivers.
2. Downloading from Canon’s Website
In the first step, you have to visit the official Canon website. After that, you have to navigate to the support section. Thereafter, search for “setup Canon Pixma MG3620” drivers and download the latest version. Later on, you can easily run the installer and follow the setup instructions.
Testing the Printer
1. Print a Test Page
First of all, go to Control Panel > Devices and Printers on your computer. Now, right-click on the Canon Pixma MG3620 and select Print Test Page.
2. Verify Print Quality
Now, you need to check for proper alignment and color quality on the test page. In case, the issues arise, you have to perform a print head cleaning with the use of the printer’s maintenance menu.
Troubleshooting Common Setup Issues
Are you encountering a few issues after setting up your Canon Pixma printer? If yes, you have to walk through all the troubleshooting tips mentioned in this section. So, without wasting even a single second, you need to scroll down. So, let’s move ahead…….
Wi-Fi Connection Problems
At the beginning of the troubleshooting process, you need to ensure that the printer & router are within range. In the next step, you have to restart the router as well as try to reconnect the printer once again.
Driver Installation Errors
To eliminate all driver installation errors, you have to uninstall all previous printer drivers. Then, you can re-download the drivers from the official Canon website.
Paper Jam and Ink Cartridge Issues
In the last step, you need to remove the jammed paper carefully without tearing it. After that, you can check if the ink cartridge installation has been completed successfully. Then, you need to reseat it if it is required.
Frequently Asked Questions (FAQs)
How do I connect my Canon Pixma MG3620 to Wi-Fi?
To connect your Canon Pixma MG3620 to Wi-Fi, you need to use the WPS Push Button method. For this, you can also use the Canon PRINT app to enjoy a standard wireless connection.
Why is my Canon Pixma MG3620 not printing wirelessly?
If your Canon printing device is not connected to the same Wi-Fi network as your device, your device will not print wirelessly.
Do I need to update my Canon Pixma MG3620 drivers regularly?
Yes, it is true that the upgrading procedure for your printer’s drivers is necessary for you. It is helpful to you to confirm compatibility and improve performance.
Bottom-line,
Hopefully, after taking a deep dive into the key details mentioned above, you will know the process to set up Canon Pixma printer quickly. This way, you can make the most of your printer without any kind of hassle. So, just relax and enjoy high-end printing with your Canon printing device.