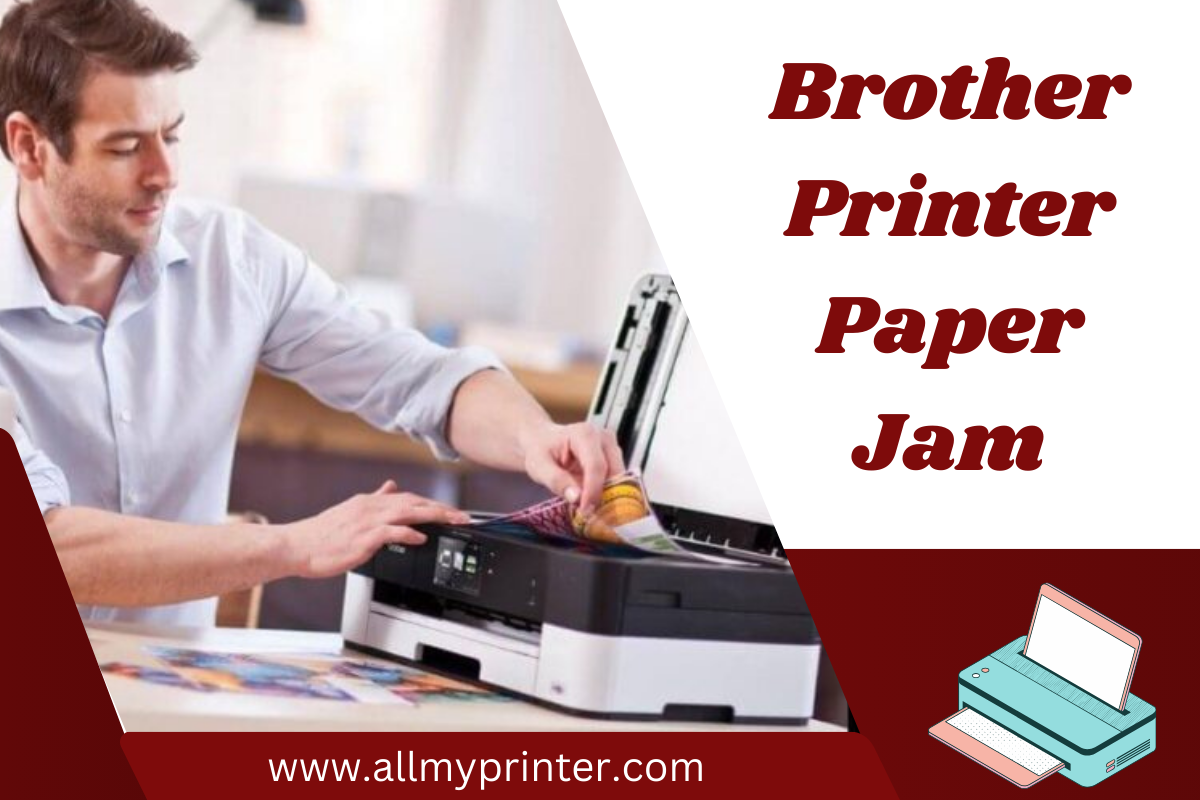
Step-by-Step: How to Fix Brother Printer Paper Jam
Typically, a Brother printer paper jam occurs when you are in a hurry. These situations can include – when you have to submit an urgent report & an important presentation. You may have to encounter paper jam issues with your Brother printer when you are in need to print critical documents. No matter if you are using a compact home printer or a high-volume office model, a jam can surely disrupt your workflow instantly.
What’s the interesting thing? Well, most paper jams are not as serious as they appear. So, you can clear such issues within a few minutes. For this, you do not need to use any tools or technical help. Once you go through this guide, you will learn how to fix a paper jam in Brother printer models. It is confirmed that you can do it with a simple and step-by-step process.
Are you not aware of the common causes for the paper jam issues you are facing with your Brother printer? Curious to know the preventive tips to eliminate these issues? Well, you have landed on the right page. Once you delve into this post, you will know how to keep your printer in excellent condition. Let’s go through this post and avoid future issues……
What Causes a Brother Printer Paper Jam?
Are you not familiar with the key factors responsible for Brother printer paper jams? If yes, it is worth going through this section. Once you understand why your printer jams, it can save you from repeated frustration. Generally, a Brother printer paper jam can result from a number of issues. A few of the issues are completely avoidable. Here are a few common causes for the problem you are facing –
1. Overfilled Paper Tray
Are there too many papers loaded in the tray? If yes, it can trigger jamming. The printer may struggle to pick the top sheet cleanly if the stack is too thick.
2. Misaligned or Curled Paper
If the tray is not overfilled or the paper is bent, there could be an issue, namely, the Brother Printer Paper Jam. This issue can occur if the paper is curled or not properly aligned.
3. Foreign Objects or Debris
A few small items, such as paper clips, bits of torn paper, can obstruct paper movement. There can be paper jams when the dust builds in the paper path.
4. Worn-Out Feed Rollers
With the passage of time, the rubber rollers inside your printer may wear down and lose grip. It causes your printer to misfeed or jam.
5. Unsupported or Low-Quality Paper
It is true that not all papers are printer-friendly. With the use of glossy, thick, or cheap paper types, the chances of the paper jam increase.
Note: In case your printer shows a jam message but there is no visible paper that is stuck, it means that the problem may lie in the paper sensors. It blocked the paper path or created several confusions for you.
How to Fix a Paper Jam in a Brother Printer: Step-by-Step Methods
Are you familiar with the key factors responsible for the Brother printer paper jam issue? If yes, it’s time to walk through the complete fixes so that you can get a sigh of relief. No matter if you are using a laser or an inkjet model, the process for fixing the issue is the same. Let’s have an eye on these fixes one by one….
Step 1: Turn Off and Unplug the Printer
You should know that safety is the priority for every user. So, before going ahead to attempt to fix the issue, you have to follow the steps –
- First of all, power off the printer.
- Now, unplug it from the electrical outlet.
- After that, let it sit for just a minute. This way, it will cool down. Specifically, if you are utilizing a laser printer, internal parts get hot.
Note: Unplugging your printer ensures that there’s no risk of electric shock. It protects your printing machine from accidental damage during the fix.
Step 2: Remove the Paper Tray
In the second step, you have to pull out the paper tray fully and inspect it. Here are the steps to remove the paper tray –
- In the first step, look for any stuck sheets or crumpled paper at the bottom.
- Now, you need to make sure that the paper guides aren’t too tight or too loose.
- After that, fan the stack of paper before going ahead to reload and prevent sheets from sticking together.
- In the last step, you need to overload the tray and keep it within the market limit.
Note: You need to reinsert the tray after confirming that everything is neat and aligned.
Step 3: Open Front, Back, and Top Covers
To find out the hidden jams, you have to follow the key steps as follows –
- First of all, open the front cover so that you can inspect the toner or ink area.
- Next, suppose your printer has a rear access door; you need to open it to access the fuser area and paper rollers.
- Later on, you need to lift the scanner unit to cross-check if the paper is stuck underneath. It is applicable to all-in-one models.
Note: It is suggested to use both hands so that you can gently pull out any stuck paper in the direction. You have to do it normally, as it feeds to avoid damaging internal parts.
Step 4: Remove the Drum and Toner Cartridge (if applicable)
On various Brother printers, the drum unit and toner cartridge are connected as one piece. Let’s see how you can do it –
- Initially, you have to carefully lift them out.
- Then, place the cartridges on a clean cloth or sheet of paper.
- After that, you have to look inside the drum compartment. It will be helpful to you to find scraps of paper or debris.
- Later on, you have to use a flashlight if you feel it is required to cross-check deep inside.
Caution: You need to keep this thing in mind that never dare to touch the surface of the drum. It is necessary for you to keep in mind that it’s sensitive and can easily be damaged.
Step 5: Check the Rear Exit and Duplex Unit
This step is about cross-checking that the Duplex unit or the rear exit is enabled. For this, you need to have an eye on the steps given below –
- To kick-start the process, you need to open the rear flap or duplex tray.
- After that, you have to look for partially fed or torn paper.
- Then, you have to carefully rotate the rollers. You can do it manually if it is possible for you. This way, you can ensure that they aren’t jammed.
Note: In some cases, very small scraps of paper hide here. Even more, it blocks the sensors and falsely triggers jam messages.
Step 6: Clean the Feed Rollers
Feed rollers pull the paper from the tray into the printer. In case they are dirty or slippery, there is a possibility that jams become more frequent. To clean them, all you need to do is –
- At the beginning of the process of cleaning the feed rollers, you need to use a lint-free cloth. It should be lightly moistened with distilled water or isopropyl alcohol.
- Now, gently wipe down the rollers—do not soak them.
- Later on, you have to let them dry completely before reassembly.
Note: Once you clean the rollers, it will help you to improve grip and paper feeding consistency.
Step 7: Reassemble and Test
Once everything is clear, you have to kick-start the process of reassembling and testing the cartridges. Let’s have an eye on the steps given below –
- Initially, reinstall the drum and toner cartridge.
- Now, close all open covers securely.
- Then, you have to reload the tray with the use of clean and flat paper.
- In the last step, you have to plug the printer back in and power it on.
Note: Make proper utilization of the control panel. Or you can also use printer software so that you can print a test page. This way, you can also confirm that the Brother printer paper jam is resolved.
Bonus Tips: How to Prevent Paper Jams in the Future
Undoubtedly, prevention is the best fix. Here is how you can avoid repeated paper jams. Just do one thing that follows all the tips mentioned here very carefully….
- You need to always align the paper properly in the tray with the use of the side guides.
- Next, you have to make sure that you are using only recommended paper types and sizes.
- Make sure that you have kept the paper dry and that it is stored flat. It will be helpful to you to prevent curling.
- You need to remember that it is not worth mixing different paper types in one tray.
- You are required to clean the rollers daily. This is a must for you to do specifically in high-volume environments.
- The final tip is that you have to update your printer firmware via Brother’s official site. It will enable you to fix potential sensor glitches.
Conclusion
In short, a Brother printer paper jam can seem a serious issue. But in most cases, it can be easily fixed with a bit of patience and careful handling. Once you follow the steps mentioned in this post, you can confidently tackle any jam and also avoid repeat issues. For this, you need not call for technical support.
Once you know how to fix a paper jam in Brother printer, it will give you an edge in managing your office or home brother printer setup more efficiently. It’s time to combine this knowledge with regular maintenance. This way, you will surely enjoy jam-free printing for a long time.